
Trip Preparation: DR650 Setup
— About The Bike, DR650, Planning, Trip Prep — 4 min read
February 6 - March 2, 2010
After getting the bike maintenance tasks done, it was onto other setup tasks on the bike.
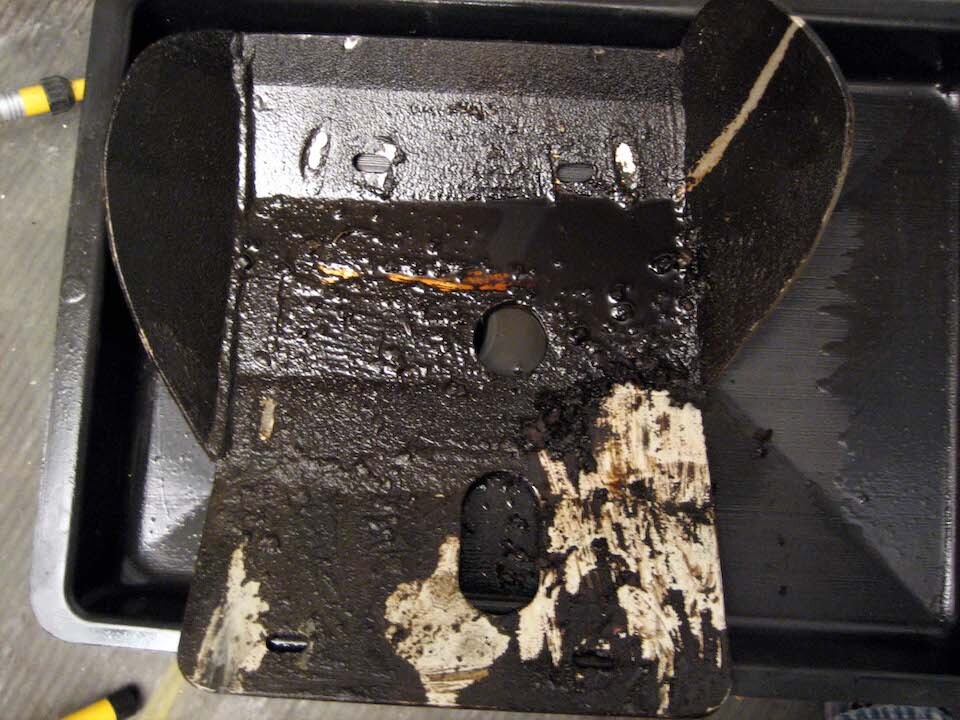 Cleaning the sludge that had built up on the skid plate as it came from the previous owner. Mostly chain lube and probably engine oil.
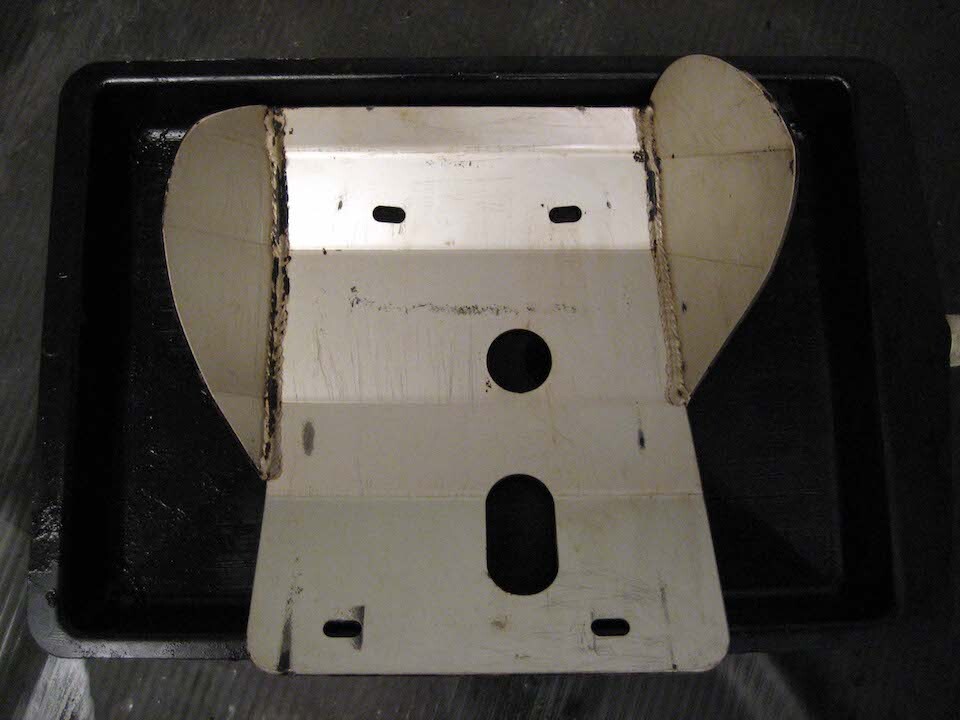 30 minutes later with lots of kerosene (great cleaning solvent) and elbow grease.
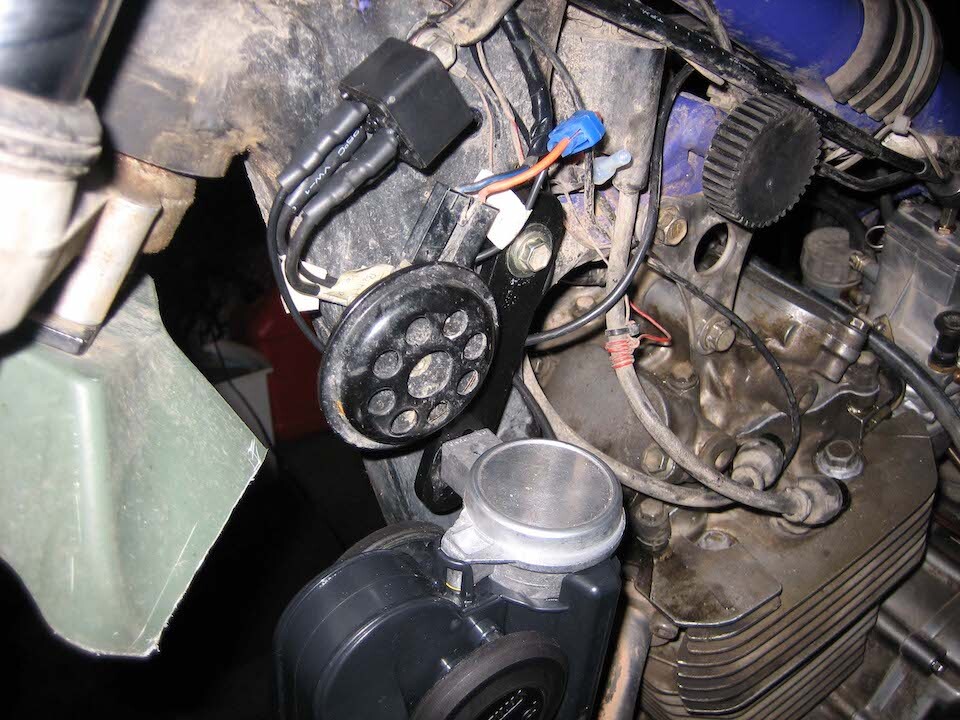
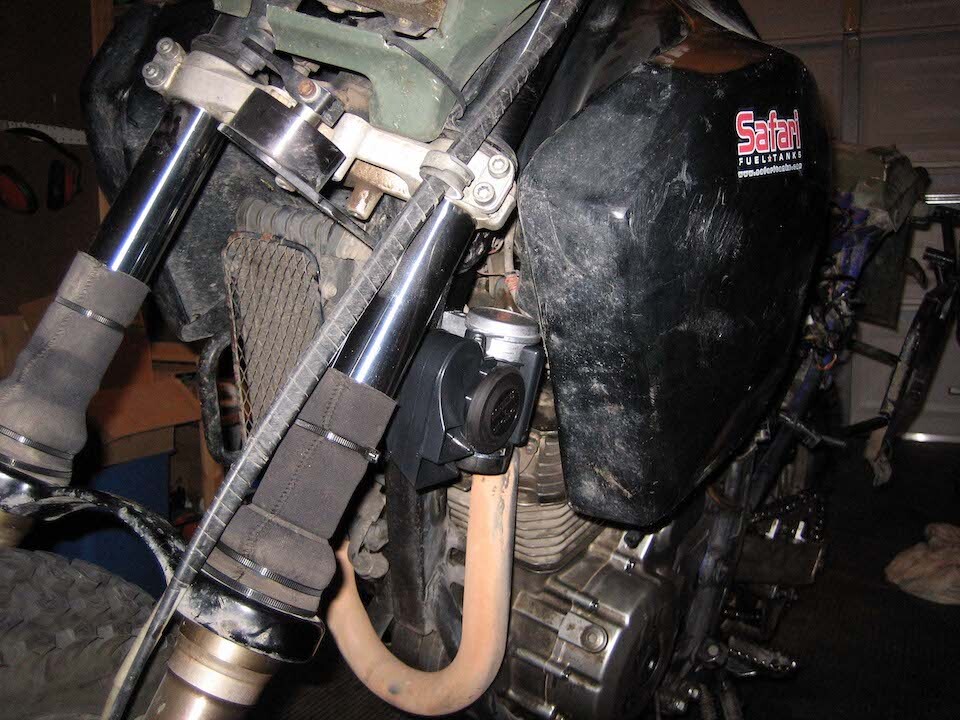 Installing a Stebel Nautilus Compact horn (super loud aftermarket horn, 139 dB) so that I can be heard among all the trucks and traffic chaos along the way. Reading other travelers' reports, I noted that most of them wished they had had a louder horn.
 It barely fits under the Aqualine Safari tank and the front fender needed to be cut for clearance.
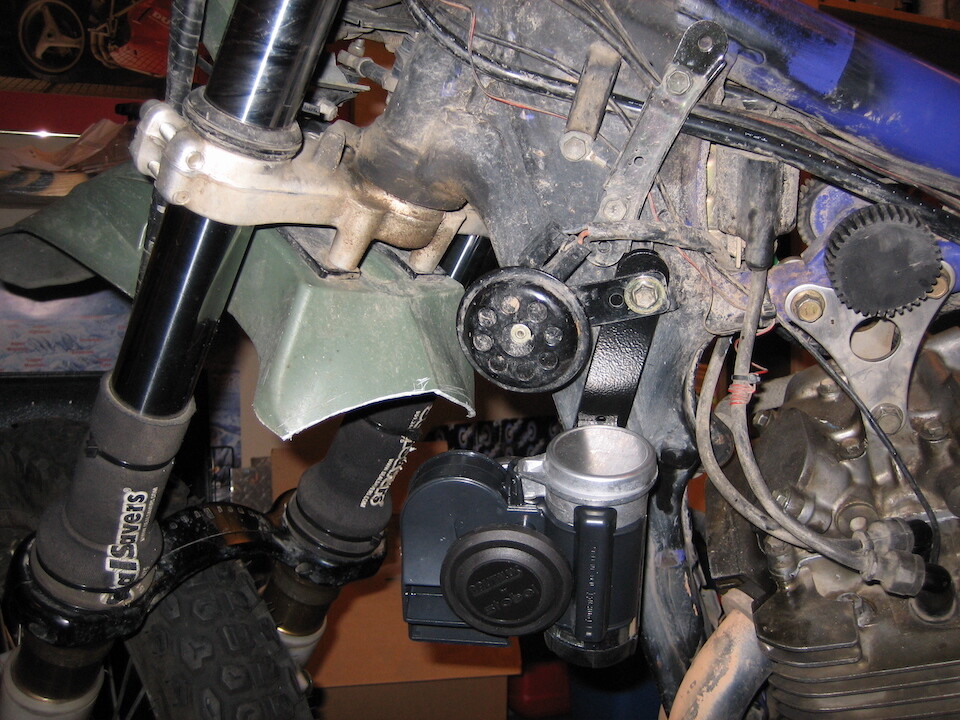
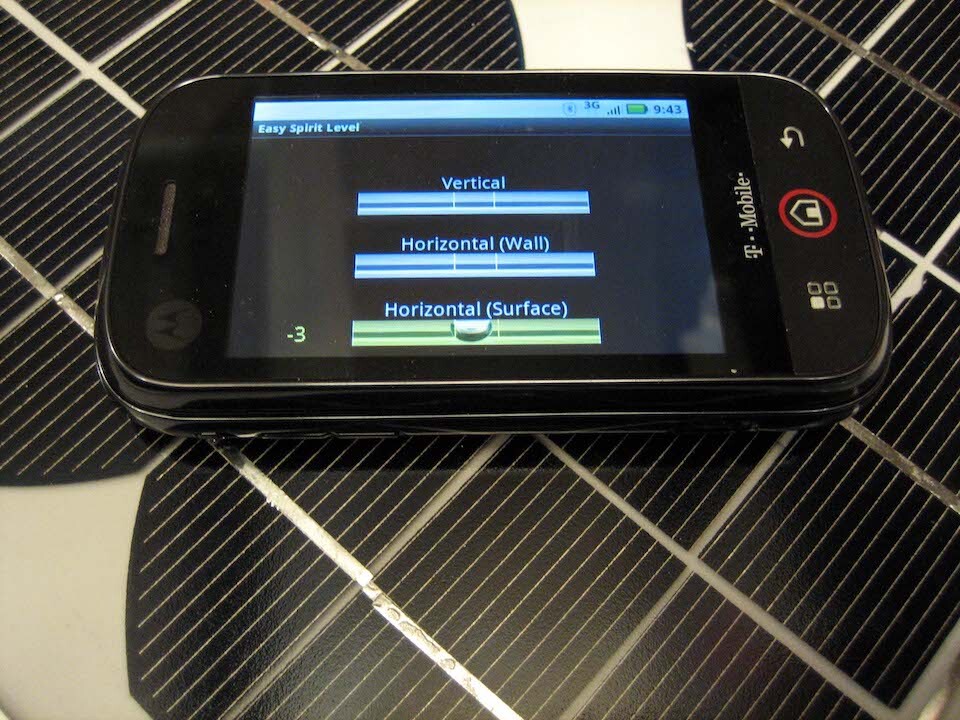 Aligning the horn to make it as level as possible as it's only supposed to be +/- 15 degrees to function optimally. I'm using an app on my Android phone (Motorola Cliq) that utilizes the built-in accelerometer.
 Installed with the relay and heavy duty wires. The Stebel draws a lot of current to produce that loud noise and thick wires are needed. They only require 14 gauge wire but I had some 12 gauge lying around, so used that liberally to ensure no melted wires. I'm also keeping the stock horn and switching between them as needed because the loudness of the Stebel might not be needed in all situations. While the horn is loud, it has sort of a fruity two-tone very Euro truck sound and makes you smile when you hear it.
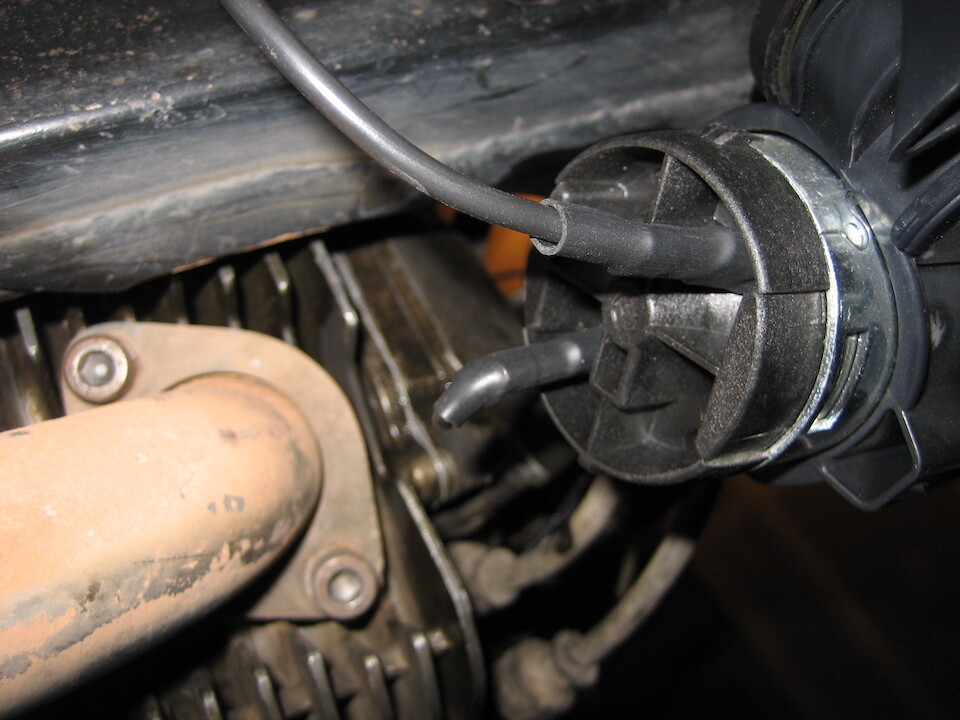 Using heat shrink on all the connections. Looking at the bottom of the horn.
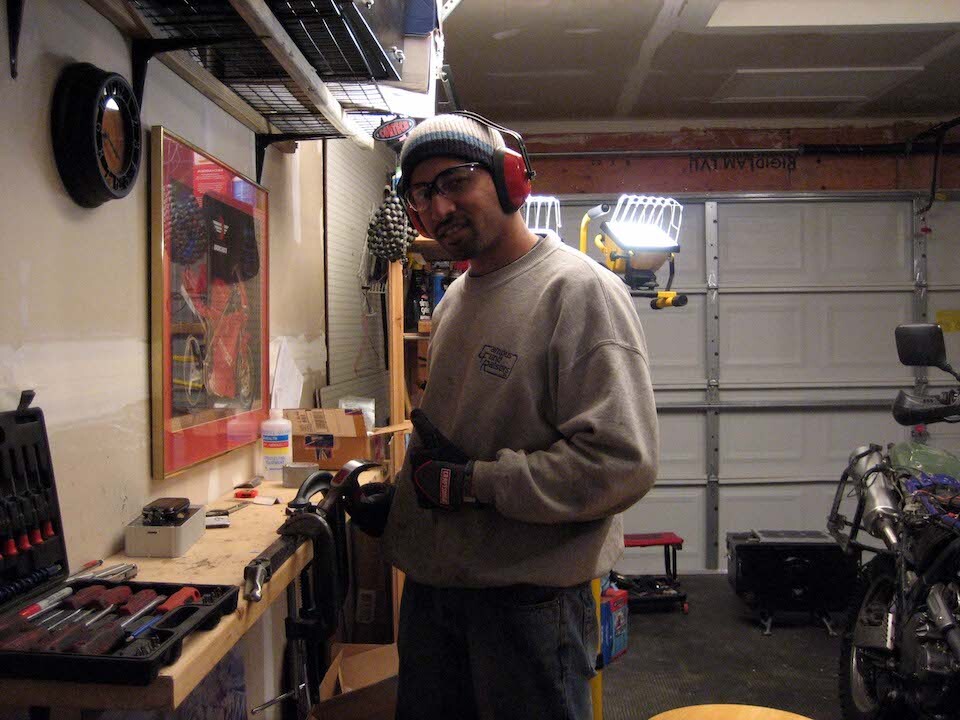 Enjoying the many months spent in my garage fabricating devices for the bike.
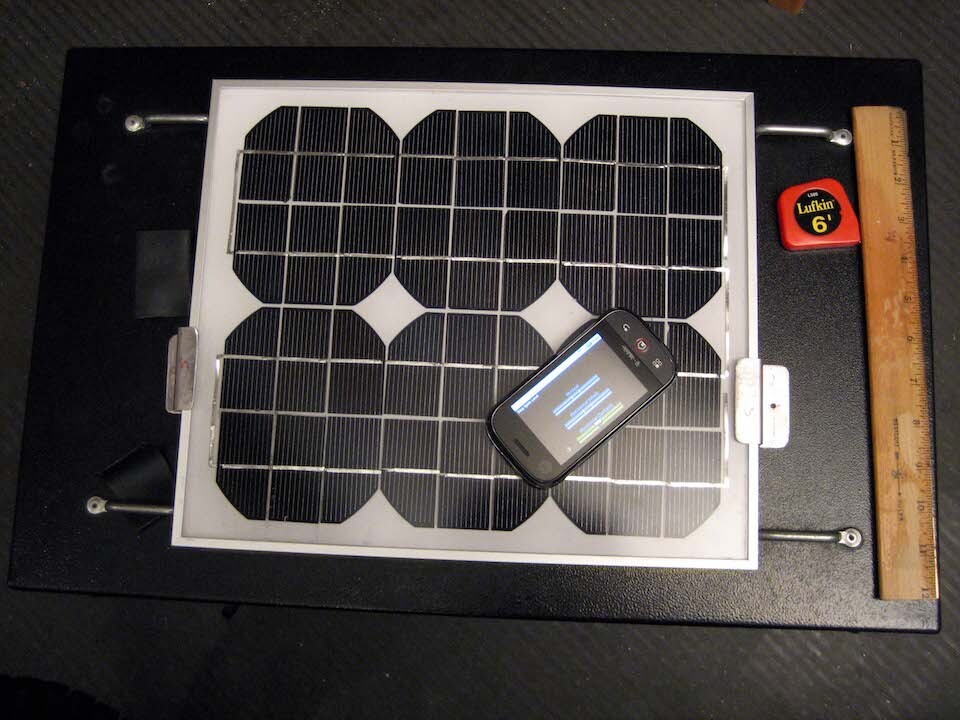 Setting up a 10 W, 0.6 Amp solar panel on my top box to provide additional electrical juice to recharge my laptop and other electrically gadgets. My bike doesn't produce enough electrical power to safely charge things while on the bike and I'm expecting to be in some remote places with no electrical connections and would still like access to my laptop during those times.
 Making some brackets to secure the solar panel to my top box.
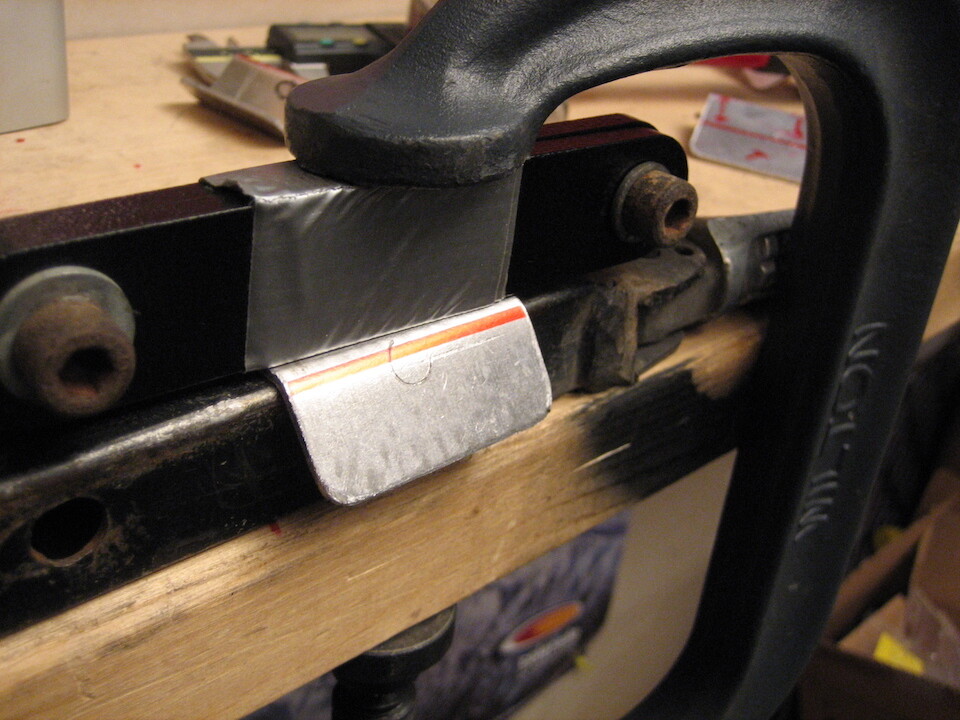 Getting the s-bend was a little tricky not having a proper vice, but this rig worked out.
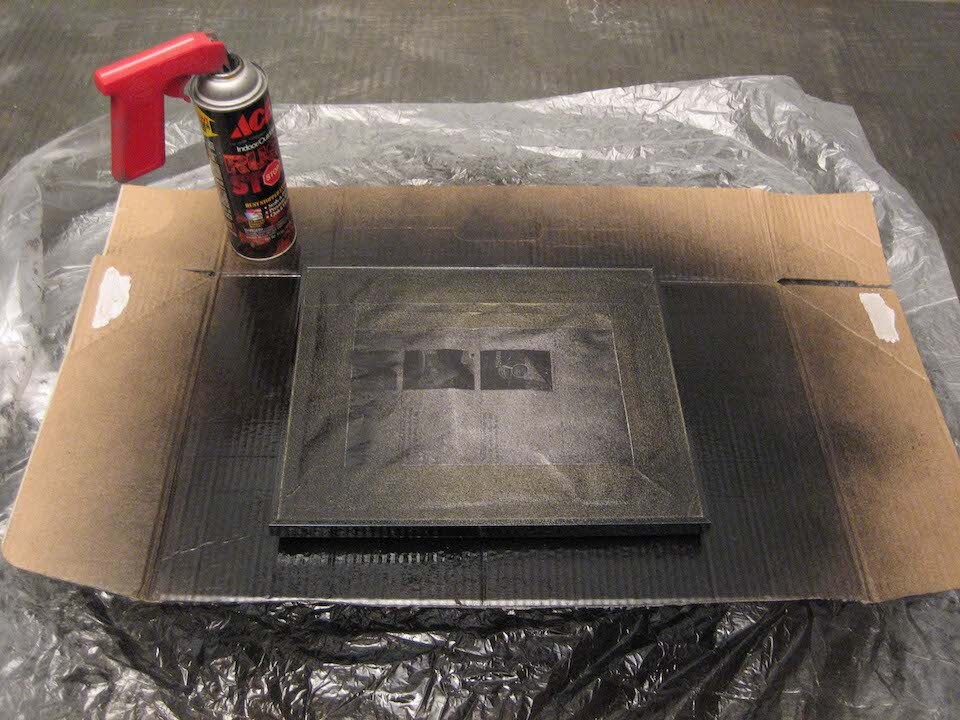 Painting the solar panel black, because it's got to look good :)
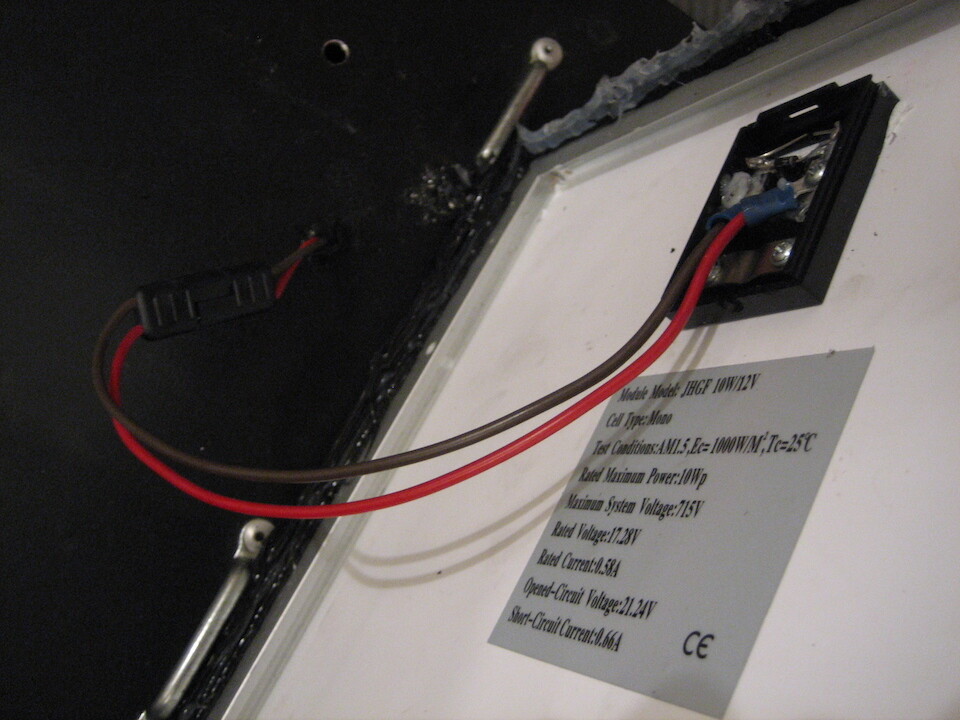 Connecting the solar panel into the top box. I used RTV silicone on the edges of the panel to provide some dampening.
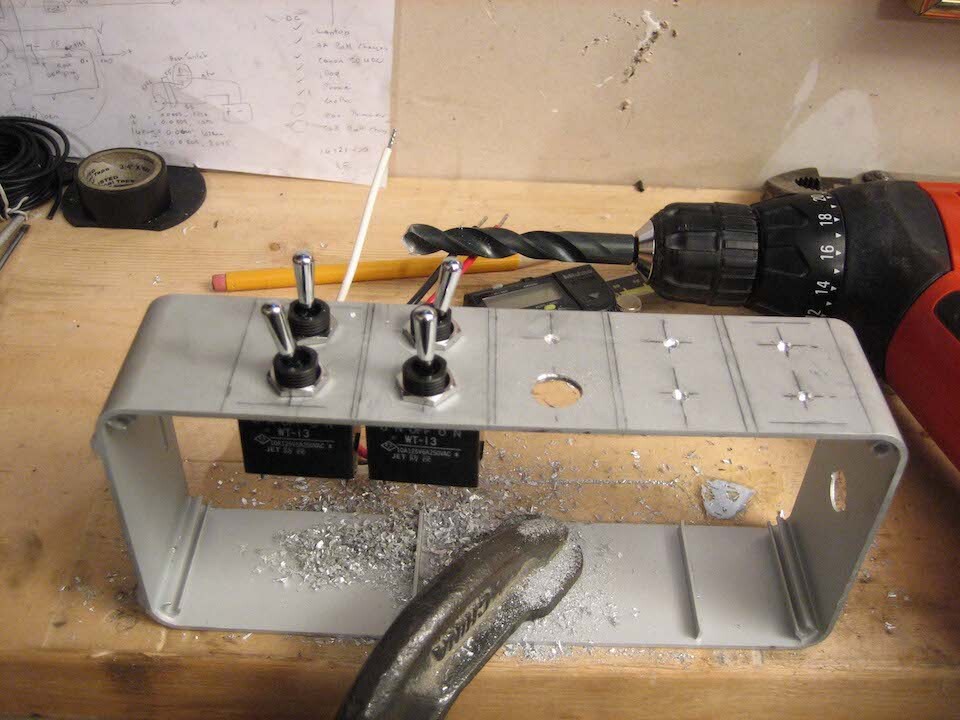 Fabricating a switch box. I've always wanted some switches to control various things on the bike and finally found a nice aluminum box that would do the trick.
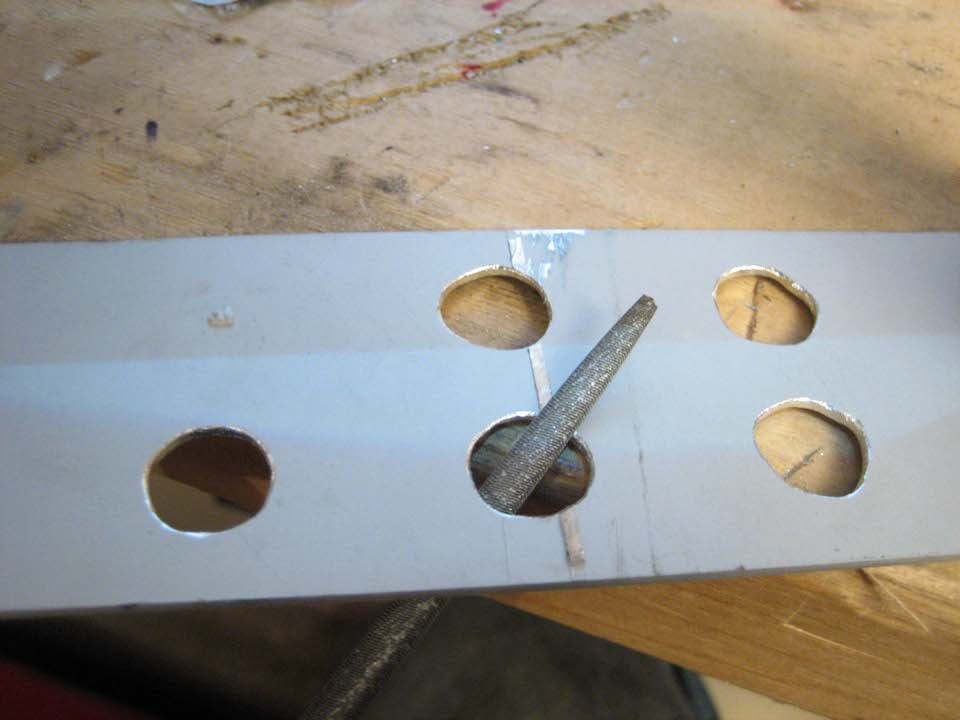 Rounding off the drilled holes.
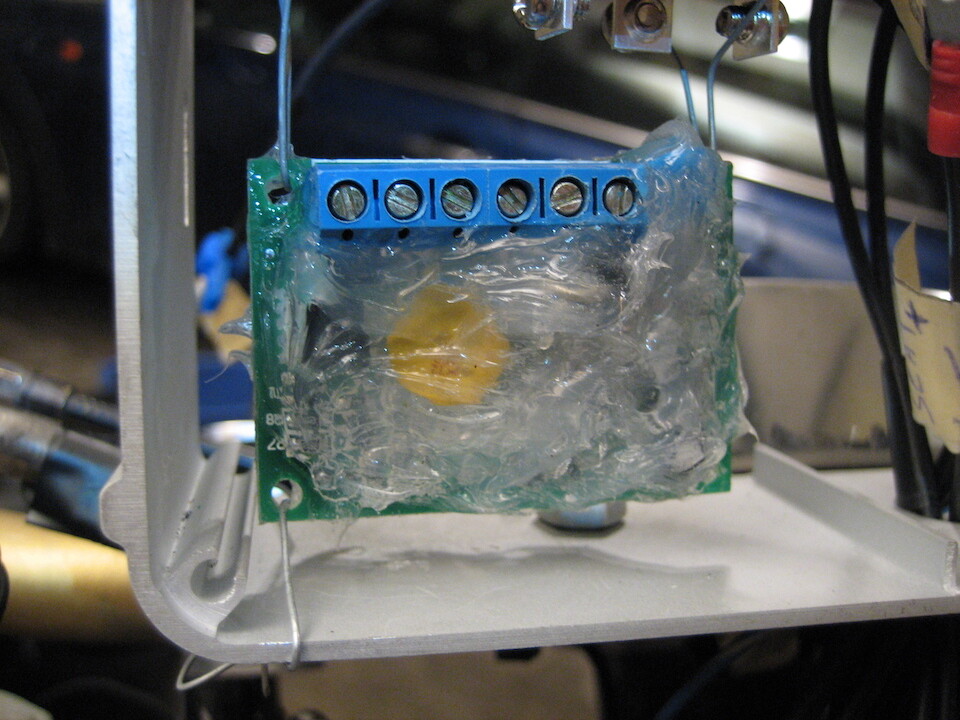 The solar charge control module, covered in silicone RTV for electrical and mechanical insulation. This board makes sure the DC output from the solar panel is in a healthy range (12-14 V) and also prevents the reverse flow of power to the panel at night. The board also features a trickle charger that I plan to use if not riding the bike for a long time to keep the bike's battery healthy.
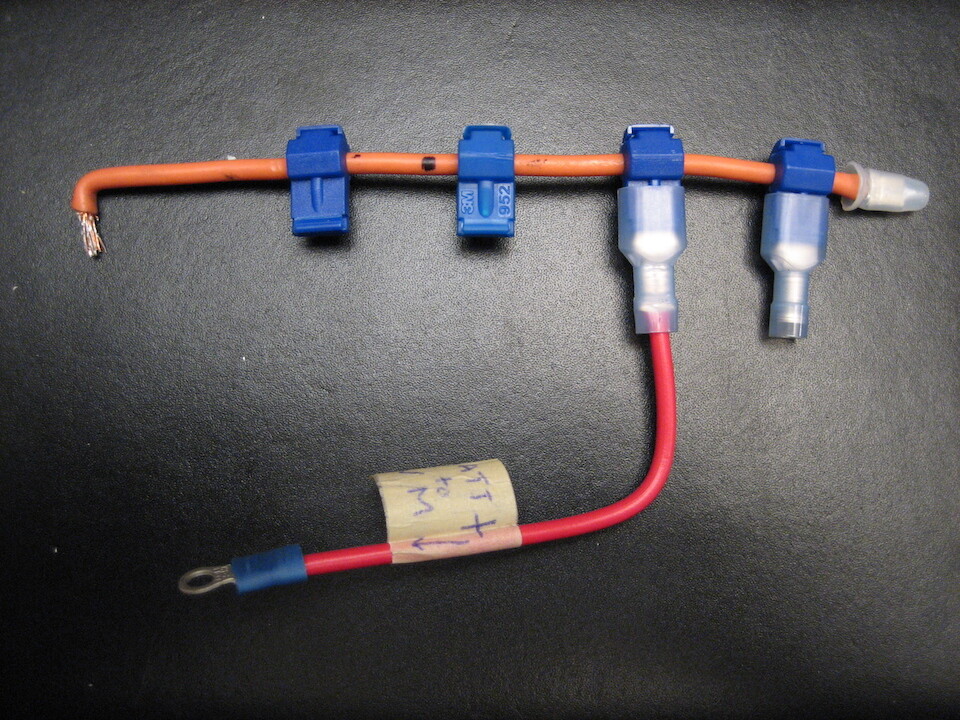 I drew up an extensive wiring diagram and set about creating all the little jumper cables and appropriate wires needed to execute this project. It took about a month to fully complete.
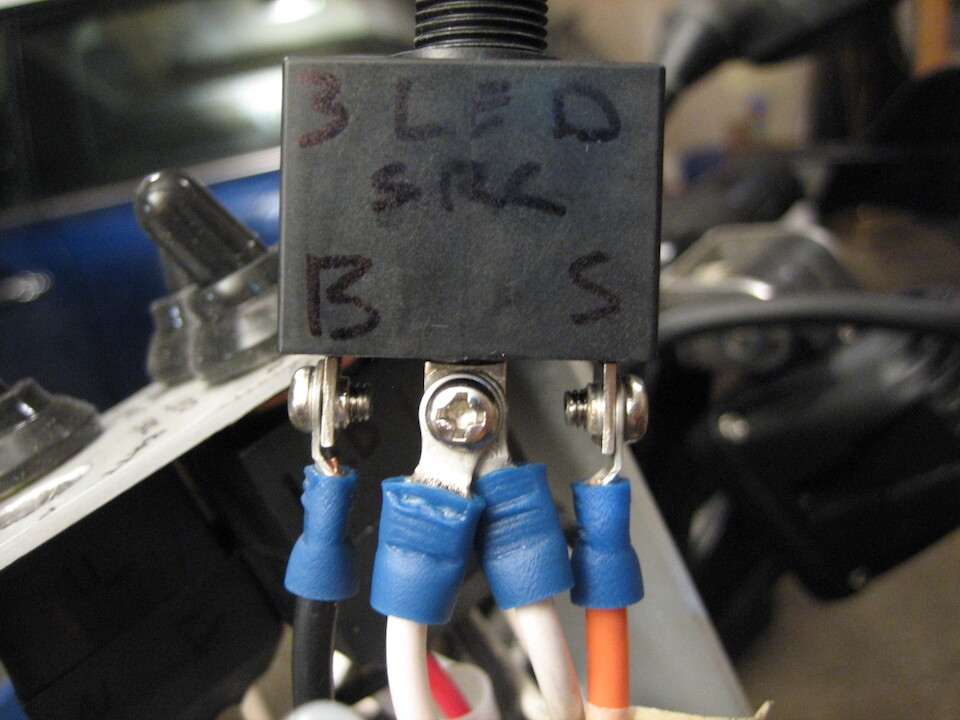 The Solstice LED lights' power source switch. Besides just charging electronics on the bike, I've also setup the LED lights to be either powered by the bike or the solar panel so that during the day I can have the LED lights on providing a wider frontal light foot print without drawing more power from the bike's battery.
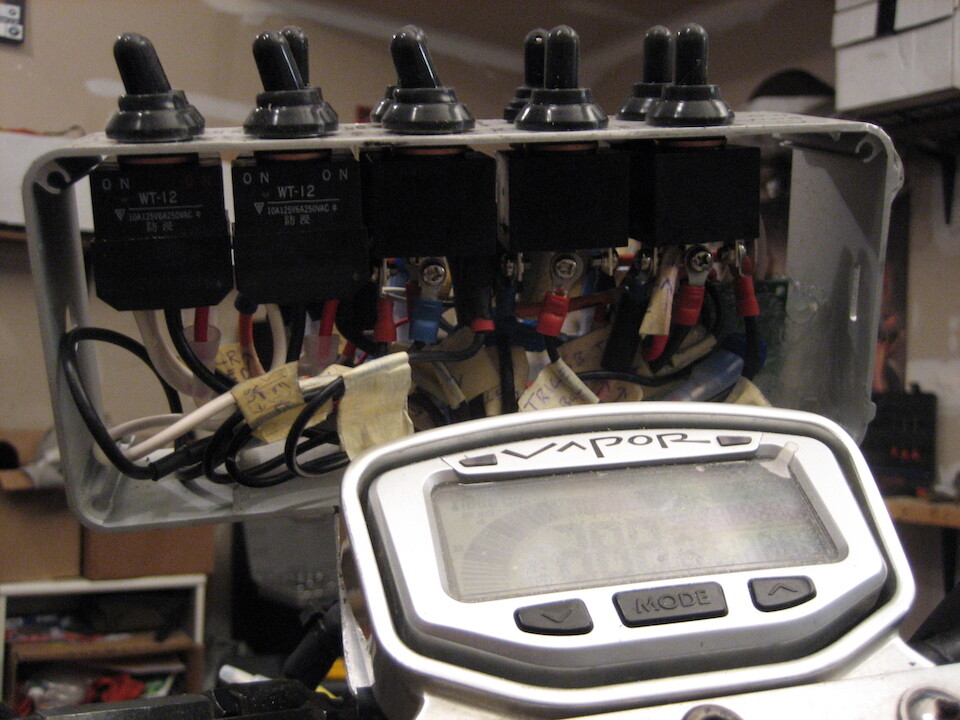 The switch box all wired up and ready to go. I made a bracket that comes off the Vapor Tech mount. And the nice thing was that everything worked as intended on the first try.
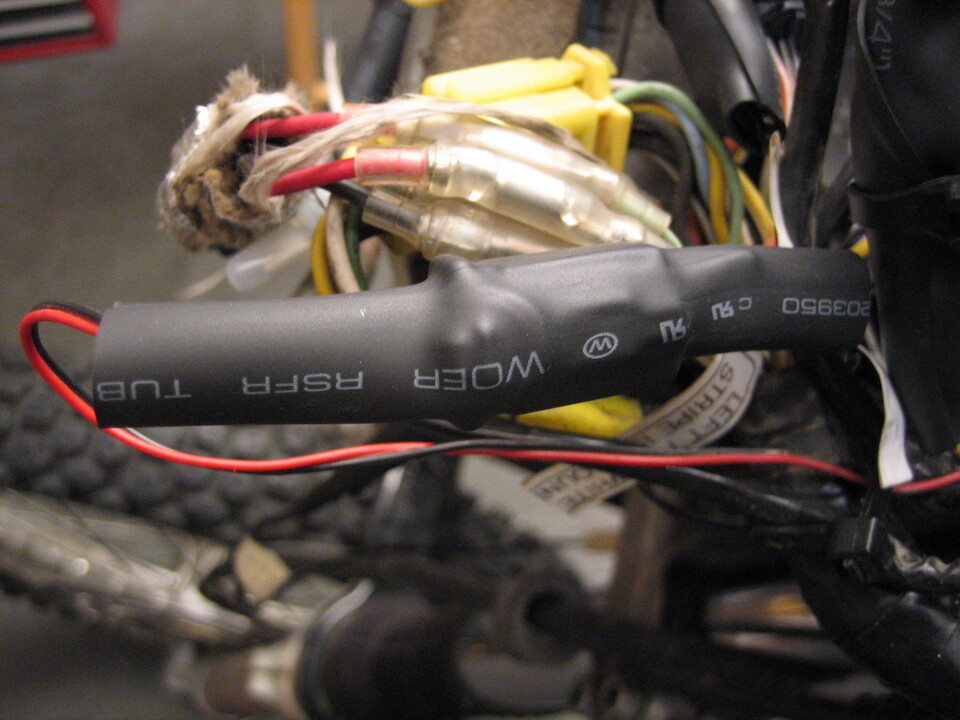
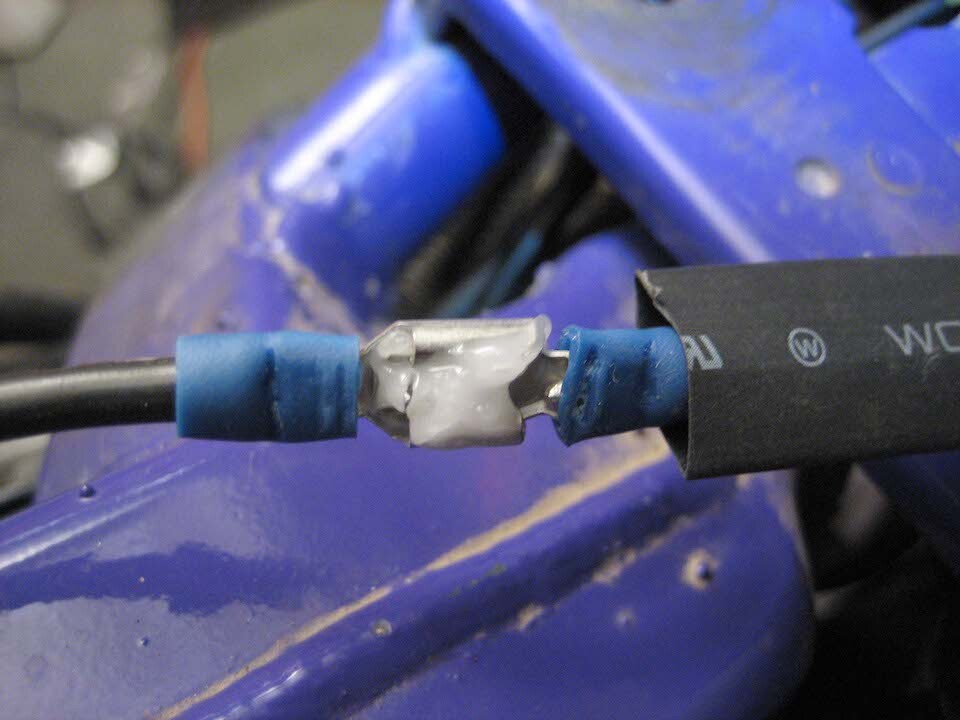 Every electrical connection was bathed in dielectric grease (to help keep moisture out from corroding the contact) and where possible, the connection was wrapped in insulating heat shrink tubing (I had lots of it that came with my tool box, so might as well use it up).
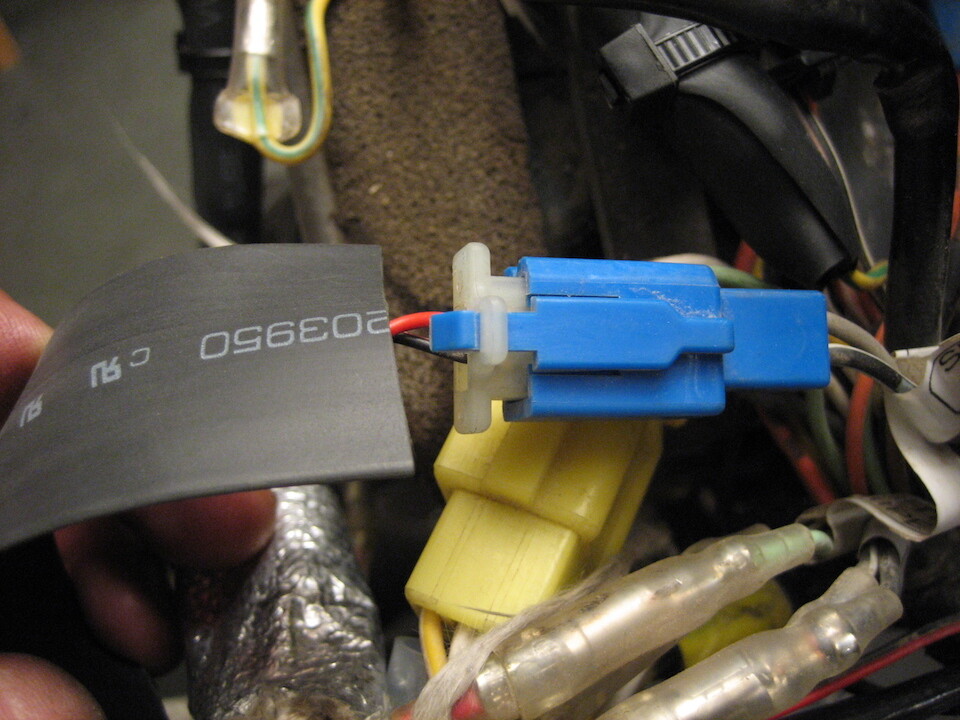 And with so much heat shrink tubing still left, I decided it wouldn't hurt to protect other connectors on the bike.
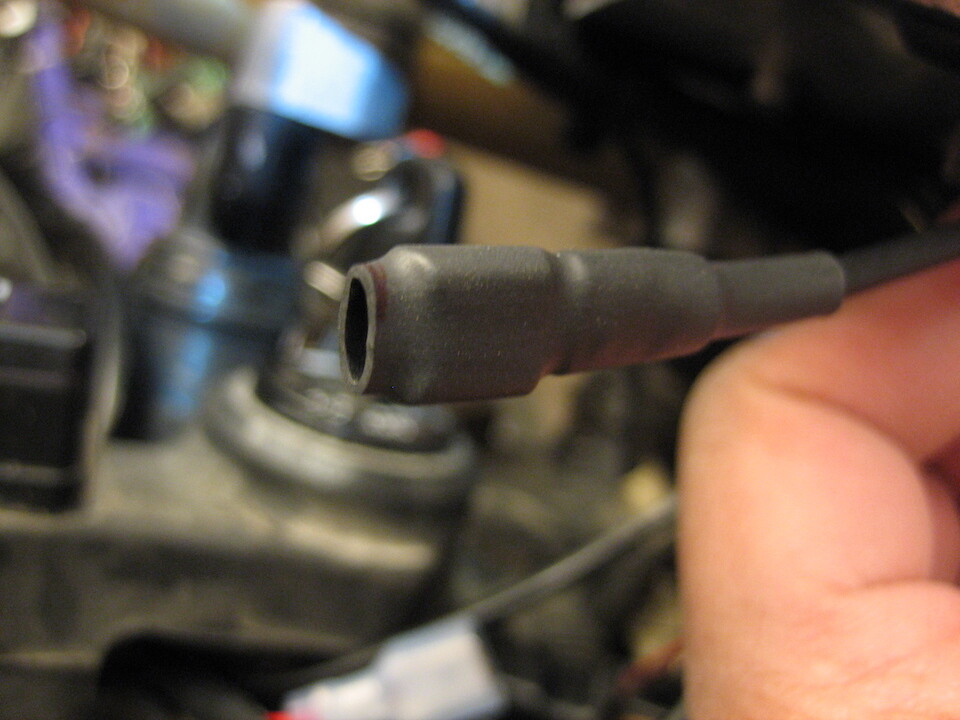
 Snug and insulated. Hope I don't need to disconnect that connector :p
 Heat shrinking all other blade-style connectors before assembling in the switch box.
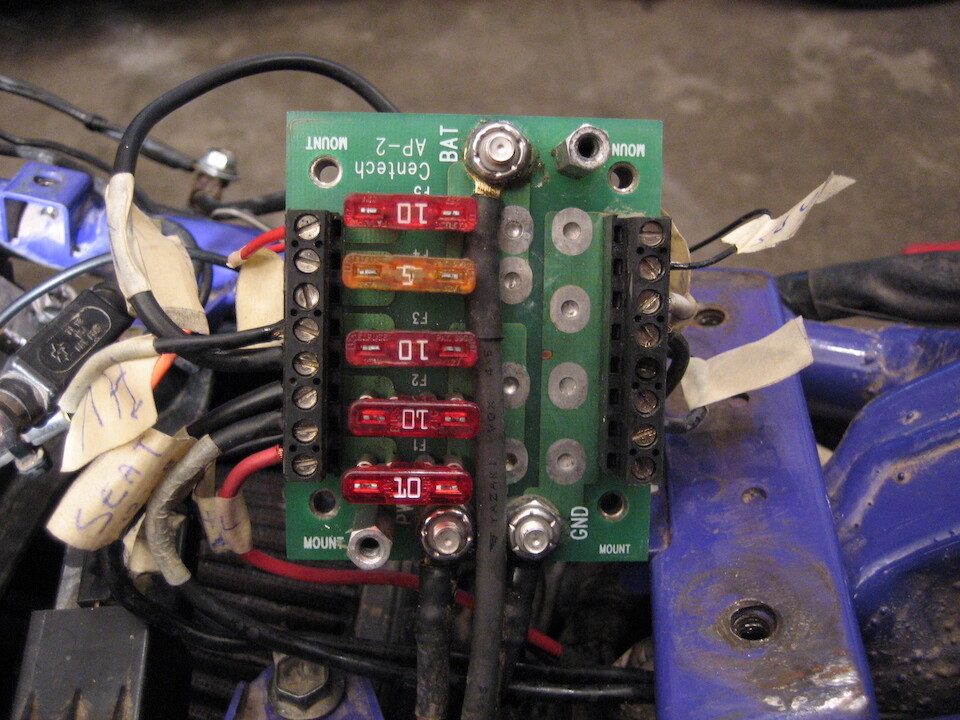 Running all electrical gadgets through a Centech AP-2 fuse panel so that if something does go wrong it wont affect my bike's main electronics.
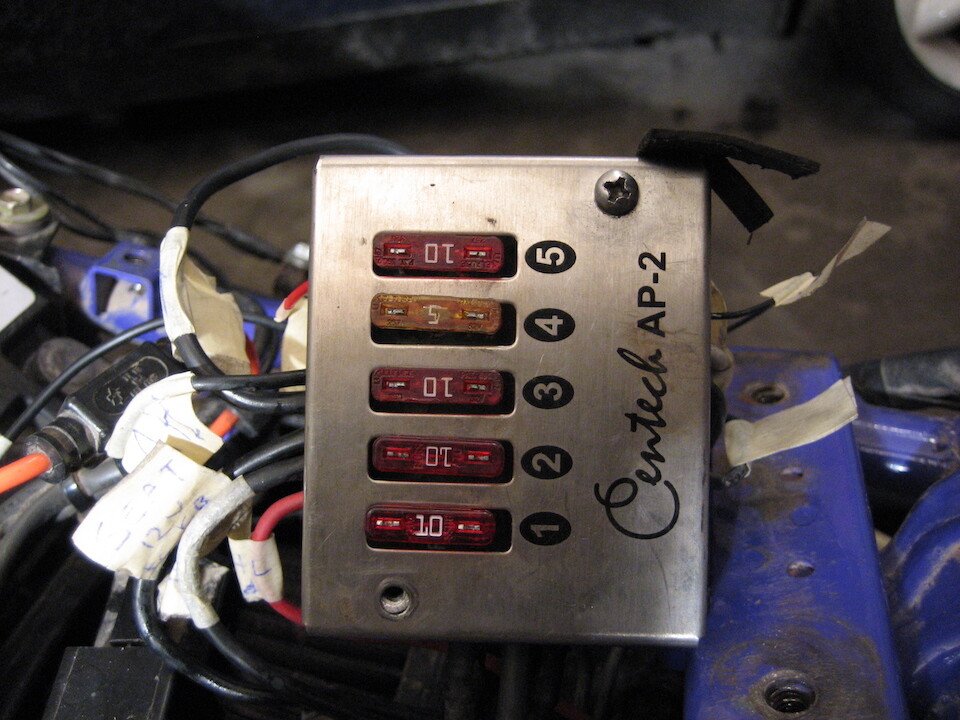 The Centech AP-2 fuse panel positioned under the seat, above the air box.
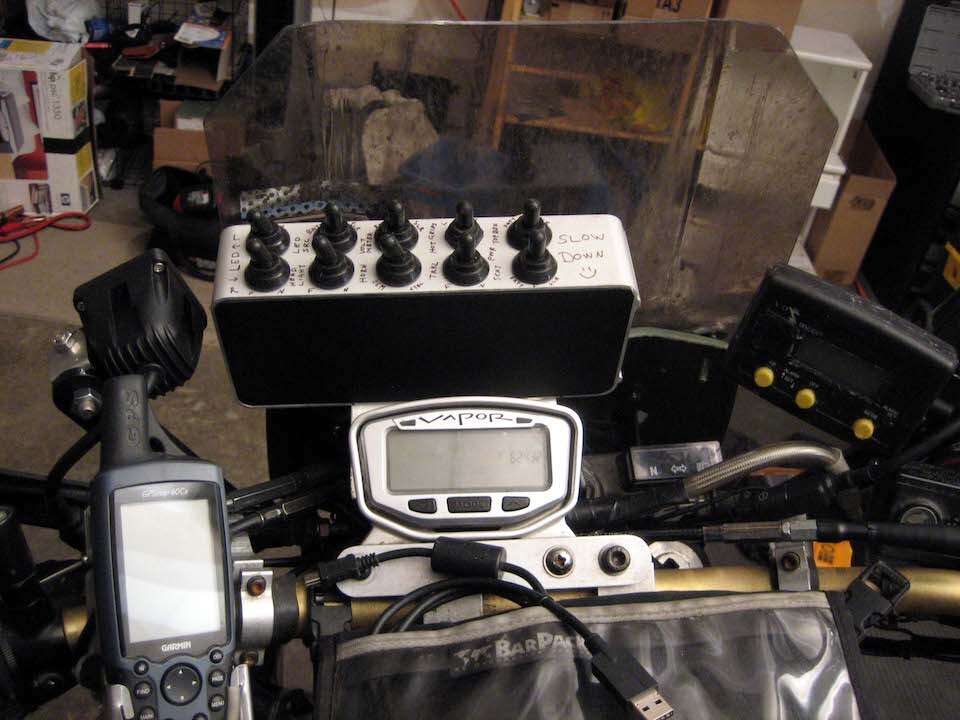 My dash board almost complete (the LED lights haven't been secured in this picture).
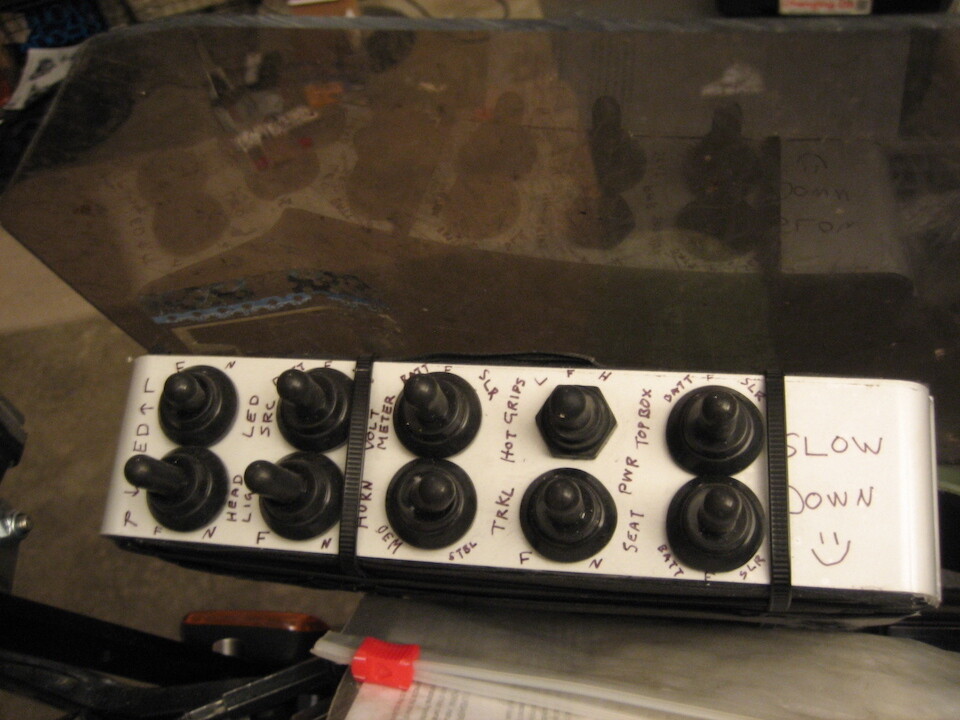 The switch box. First two from the left are on/off for the two Solstice LED auxiliary lights. Next up is power source for the LED lights and master on/off for both lights and main head light on/off. Then it's the voltage monitor for the bike's battery or the solar panel output and the horn switching from the stock horn to the Stebel, both running through the switch on the handle bar. Next is heated grips and solar panel battery trickle on/off and last is power source on/off for 12V sockets under the seat and in the top box. And a note to self :)
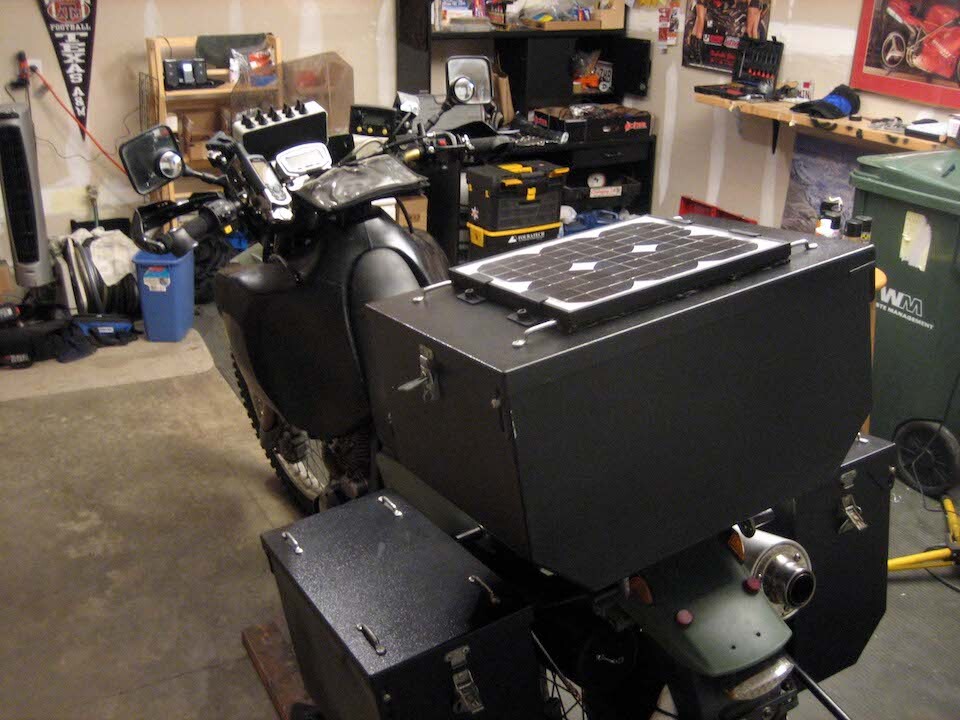 The solar panel installed and the bike coming together.
 A lexan cover for the solar panel, held down with 3M dual lock velcro.
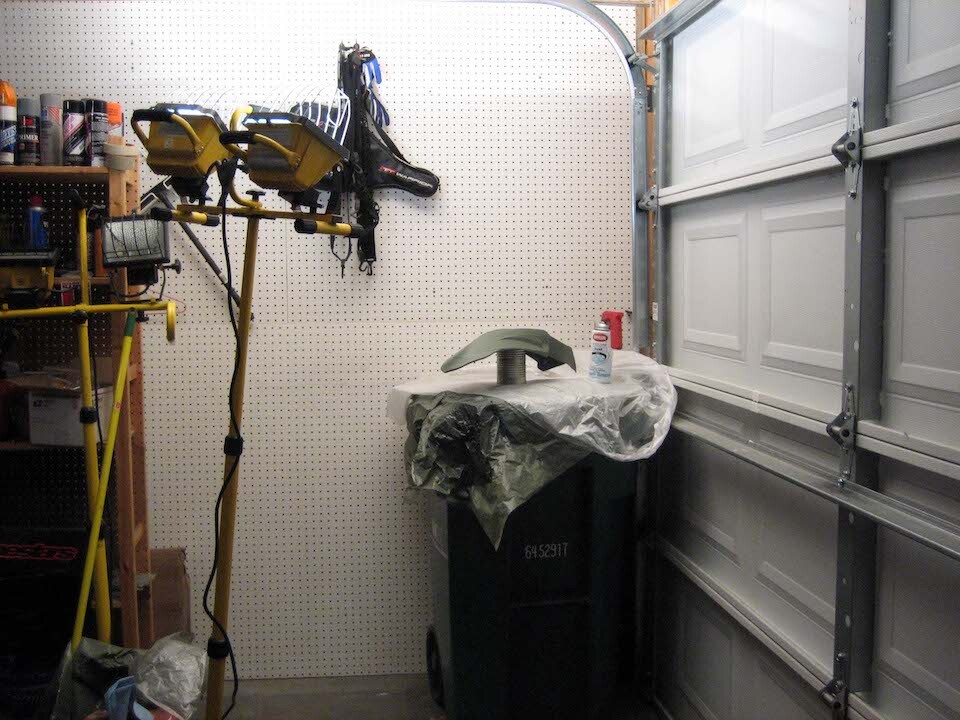 My paint booth. Spraying clear coat on the front fender to prevent rock chips in the paint. It was freezing cold outside, so yeah, there wasn't much proper ventilation but I wore a make-shift breath mask and hopefully didn't lose too many brain cells :p
Next: Last Few Days Before Leaving
Previous: Trip Preparation: DR650 Maintenance