Trip Preparation: DR650 Maintenance
— DR650, Planning, Trip Prep — 4 min read
I'm enjoying some down time in San Francisco and soaking up the warmer temps, staying with my friend Shridhar.Before I head south and cross the border, here're some pictures of the preparations done leading up to the start of the trip.
October 2009 - February 2010
I know there are mechanics all along the way through South America and Africa but I wanted to replace some parts and do some preventative maintenance on my own time and not be rushed, unlike having to do it en route after things fails. I know things are going to fail that I didn't anticipate, but I'll handle them as they arise.
First up, I replaced all the bearings: front and rear wheel and swing arm bushings. I'm a decent wrench myself, but I know when some tasks are beyond my abilities for lack of experience or proper tools. I have a good mechanic friend, Gus who helped immensely in all the following tasks. He lived 80 miles from me (on the other side of Chicagoland) but it was worth it as he taught me a lot about how to service the bike if I need to on my own down the road.
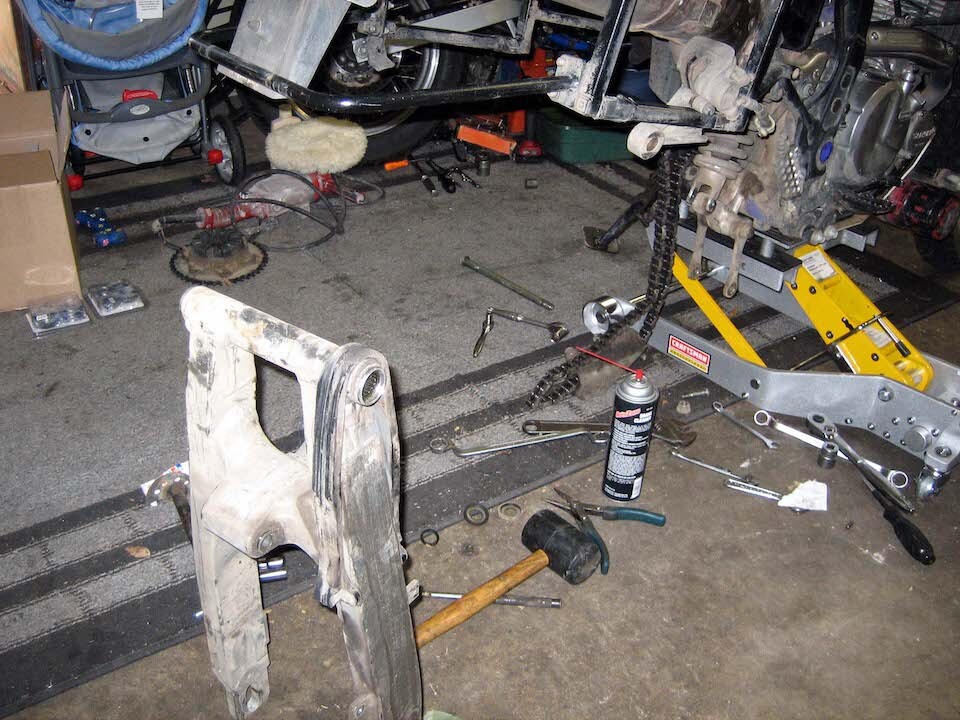 Removing the swing arm from the bike to access the swing arm bearings (as it pivots on the frame).
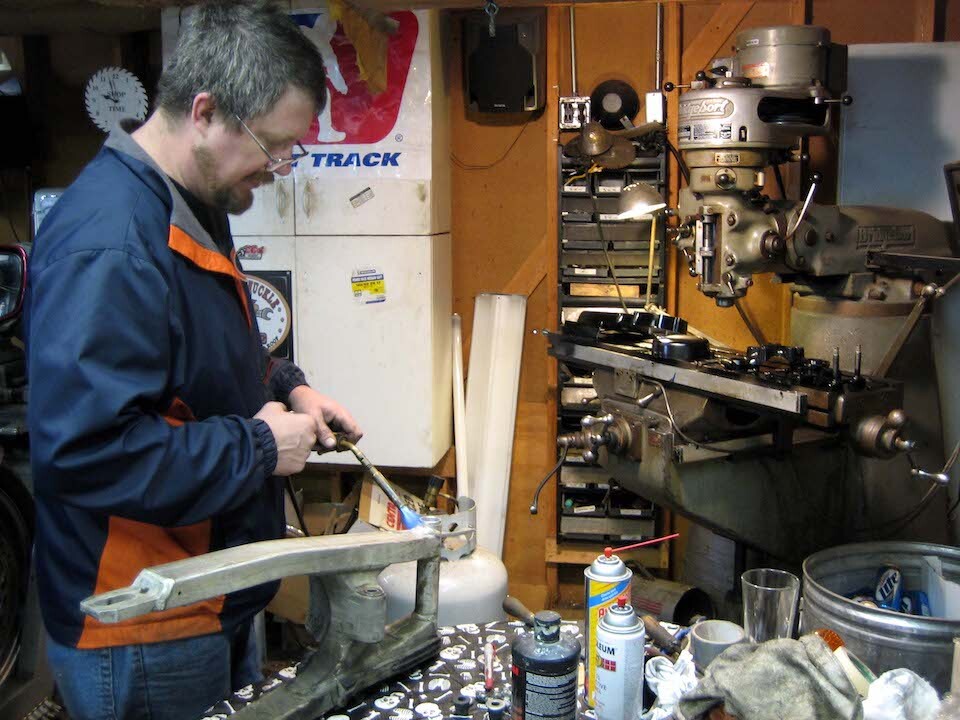 That's Gus heating up the swing arm...
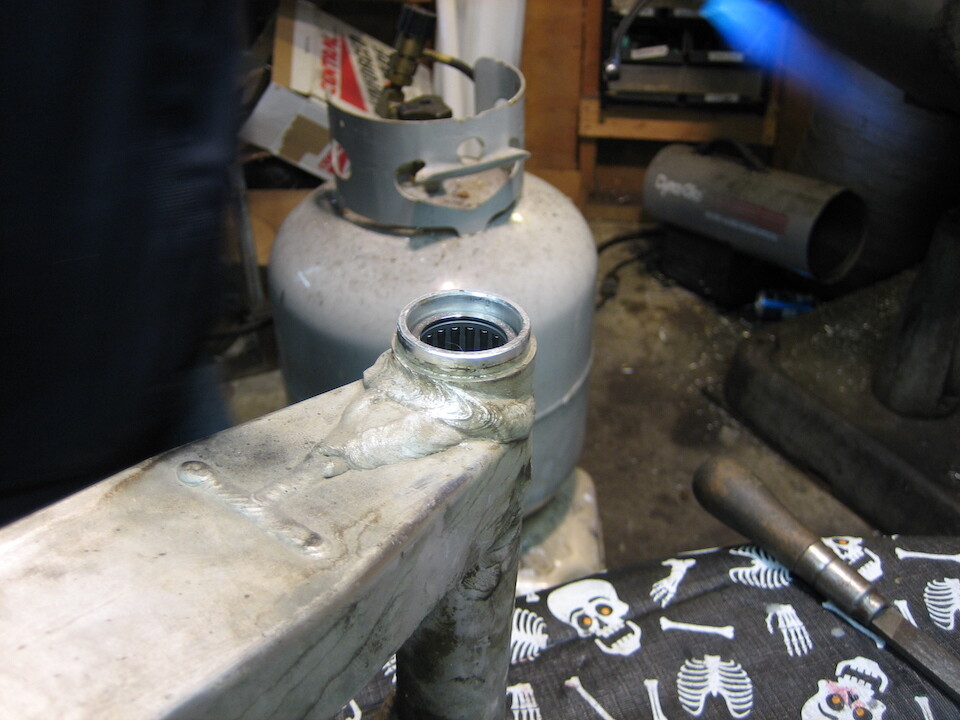 ...to plop in the new bearings.
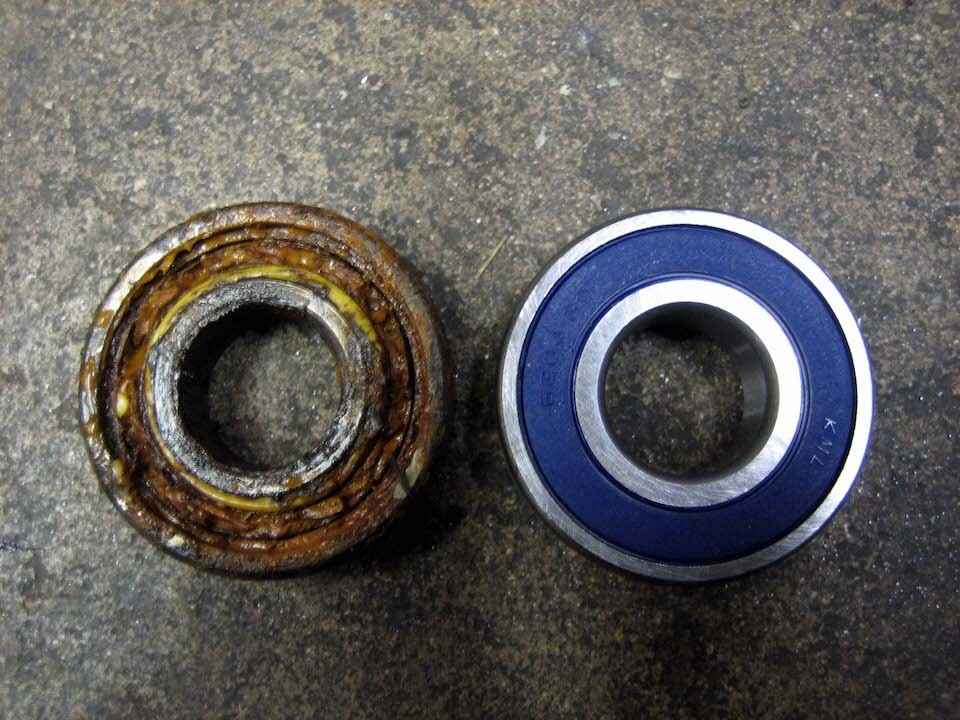 The rear wheel bearings. The bike had 26,000 miles and the bearings probably would've lasted another 10K or so miles, but the factory bearings aren't sealed and look at all that crud and rust that gets in there. I put in new All Balls bearings that are sealed on both sides. These should last for the next 30-40K miles at least.
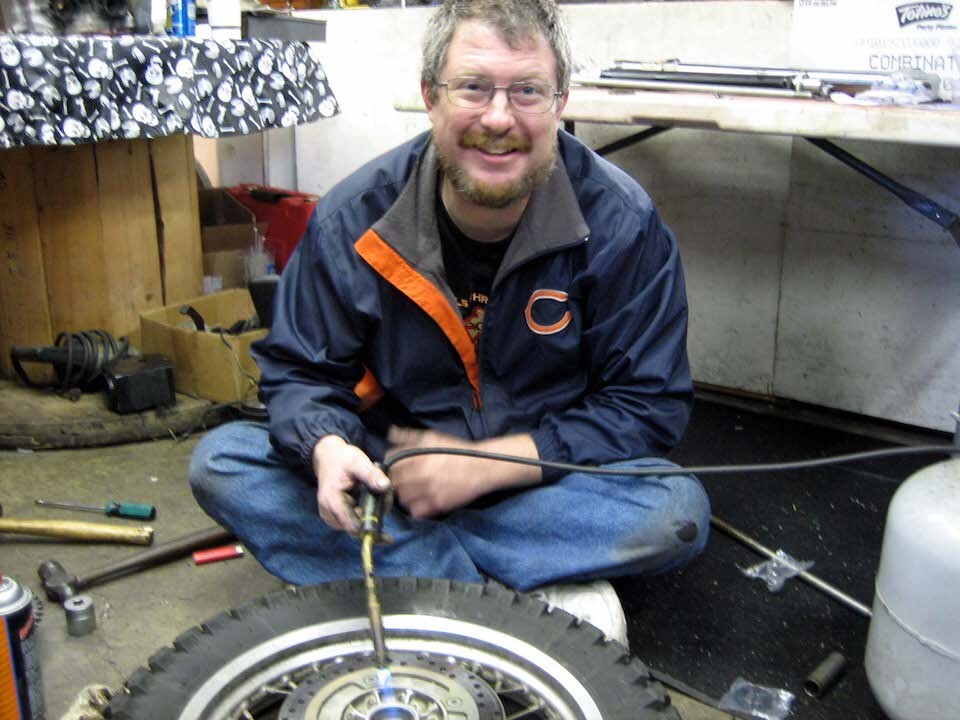 Heating up the rear wheel hub.
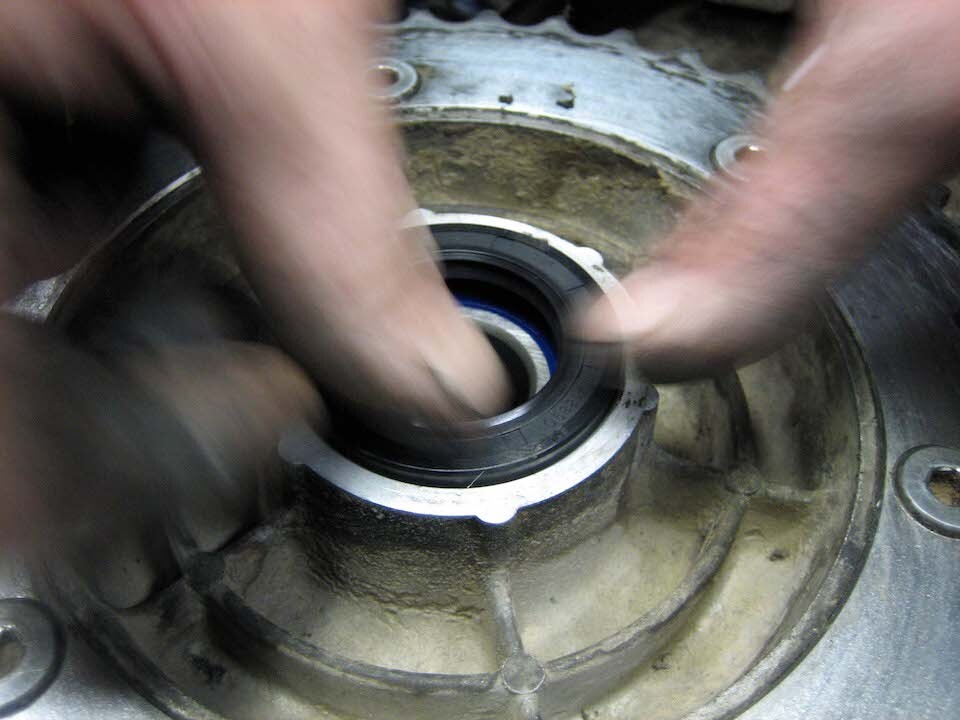 Putting in the new All Balls bearings and dust seals.
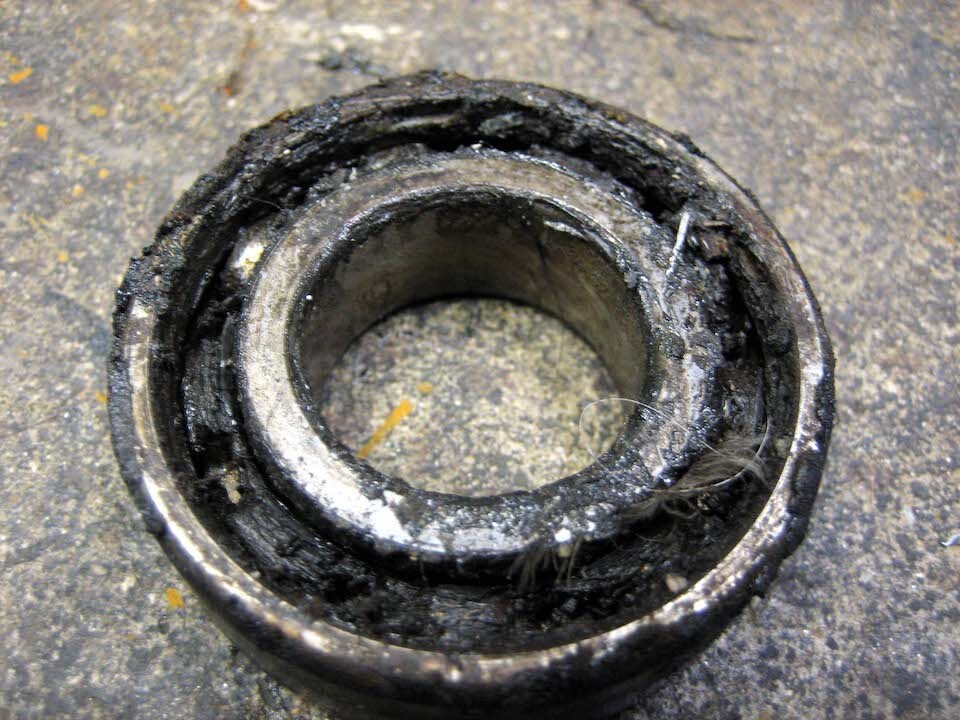 Eww, the rear sprocket bearing, haha.
I then planned to rebuild the Front Forks (new oil and seals), but started reading about a potential issue in the transmission of the DR650 and figured a full engine rebuild would do me good. For certain model years, the 3rd Drive Gear in the transmission is known to fail unexpectedly and as a precaution you can replace it with a newer part. I figured a rebuild would be good as well to take a look at all the engine internals and see if there were any other problems that might arise down the road, and if I was going in, I thought I might as well replace the piston and rings and other aged parts, such as the plastic oil pump gear. I also had the cylinder head rebuilt to restore compression.
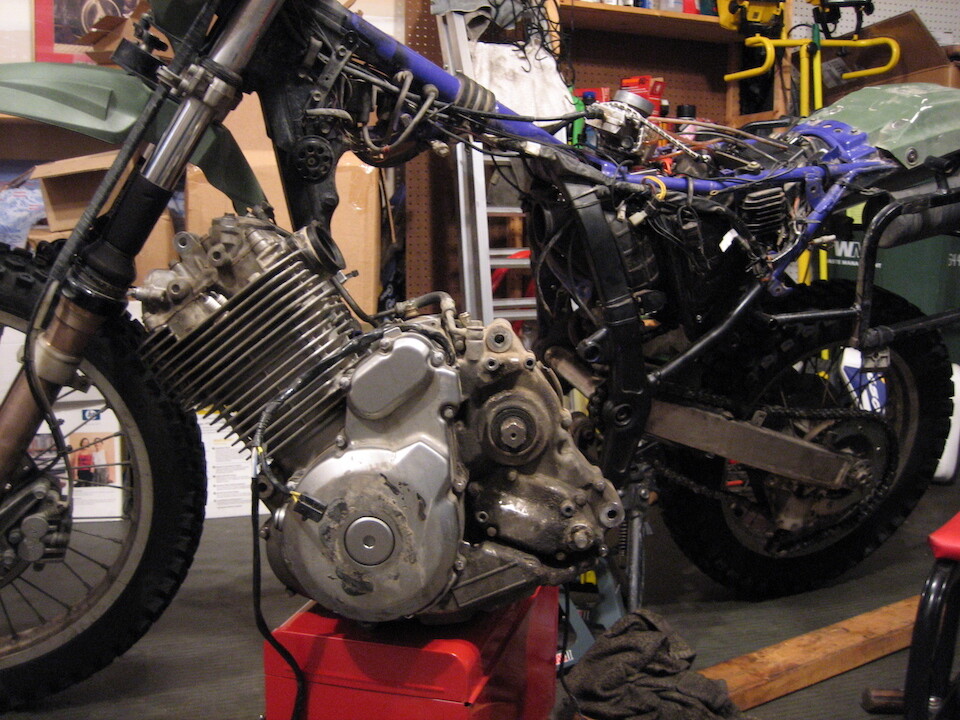 The engine removed from the frame.
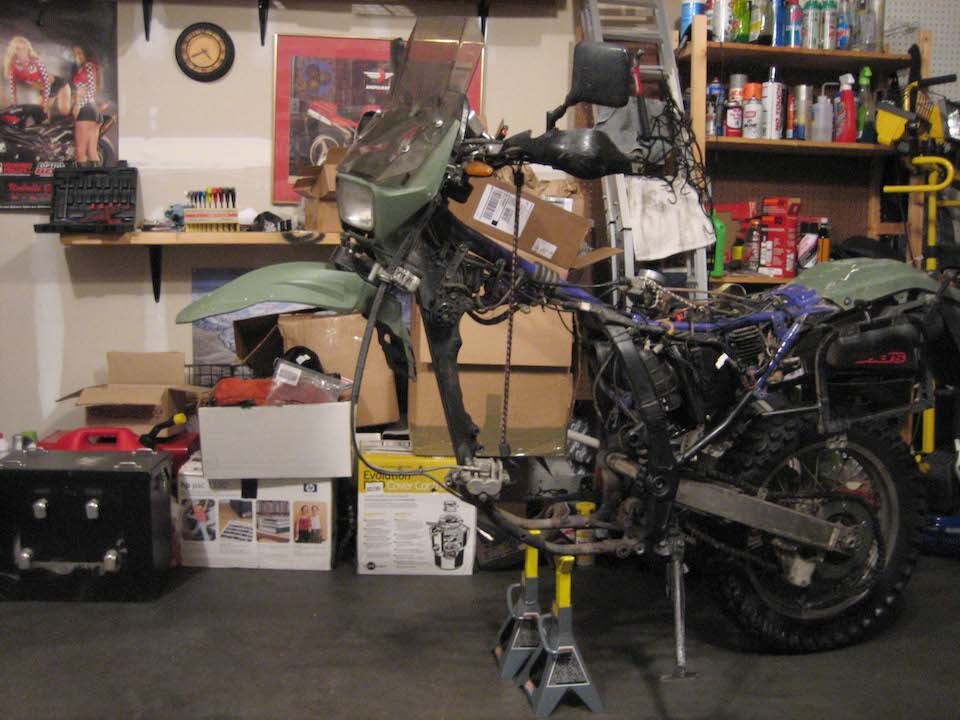 This is probably as naked as she'll ever be :) The forks removed from the frame. One can see how simple a motorcycle the DR650 is. That's a big reason why I chose this bike - it's not too complicated and it's very basic in its design, because it just works.
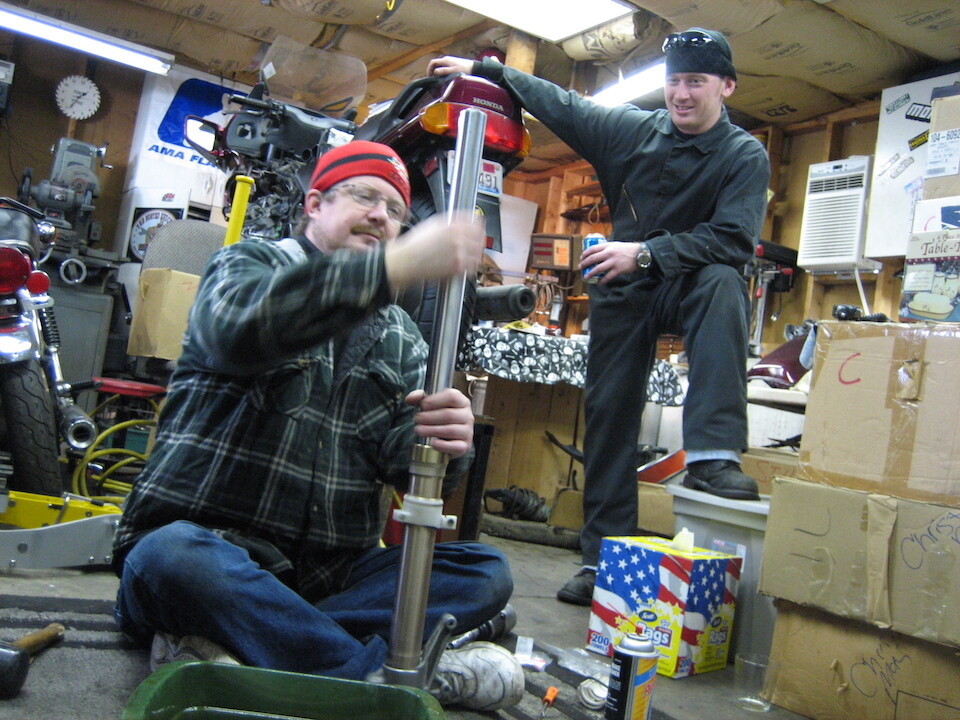 Cycling the new fork oil. That's Nick who came to hang out while I was down there. He's an amateur sport bike racer and participates in CCS races on a Suzuki SV650. Him and Gus are constantly rebuilding SV motors. These guys said they would be factory support for me on my trip and if I needed any parts sourced and shipped, they were ready to help.
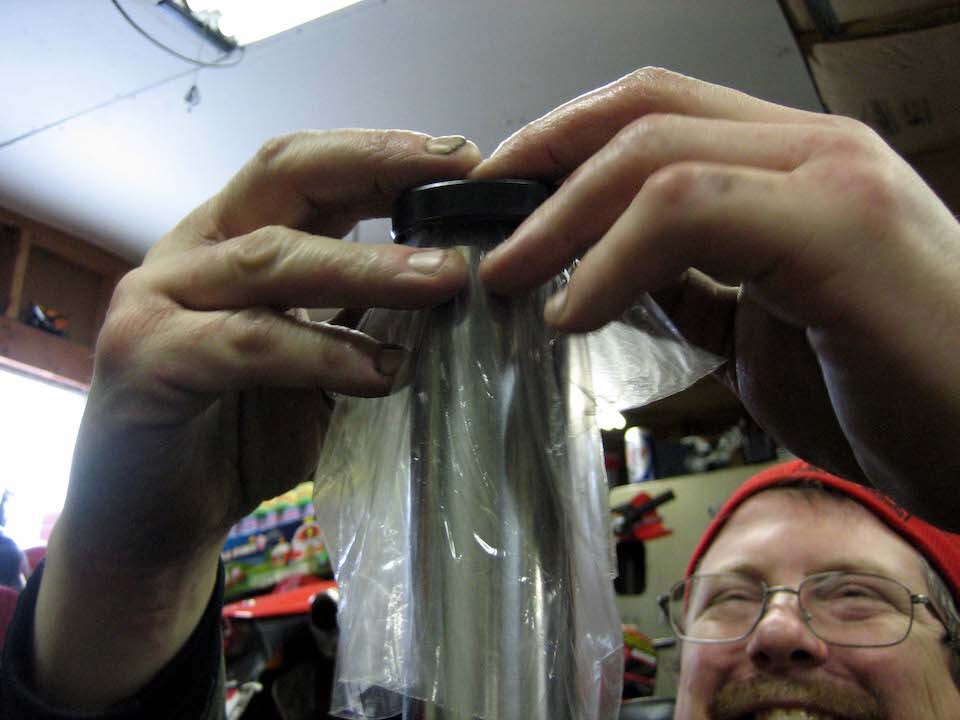 Slipping on the new seals. Using some plastic to prevent the seals from catching a sharp edge and tearing.
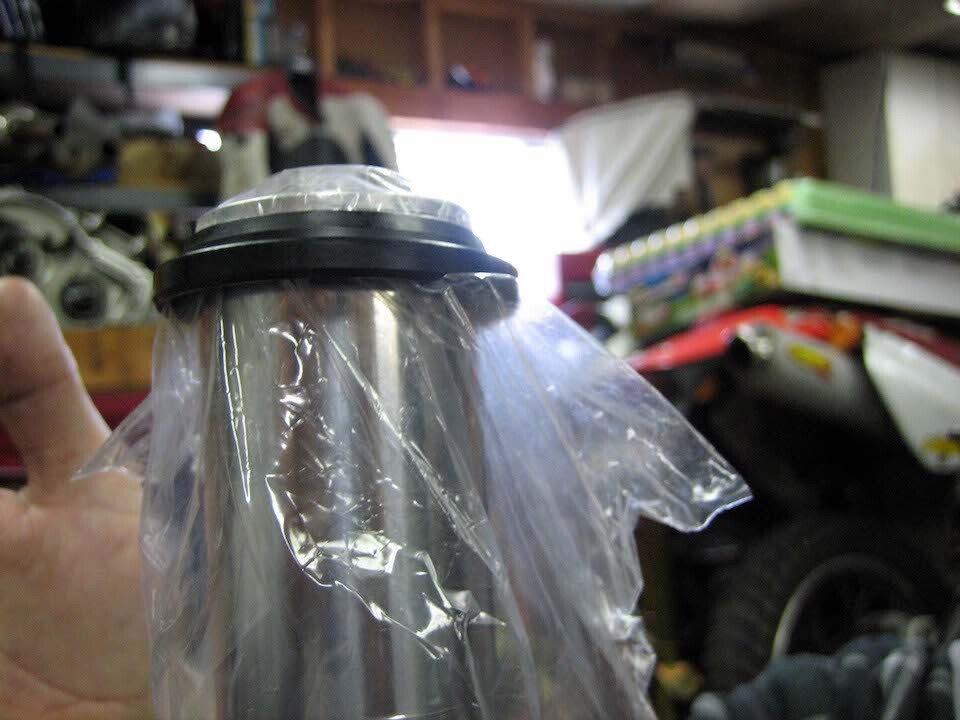 Slipping on the new seals. Using some plastic to prevent the seals from catching a sharp edge and tearing.
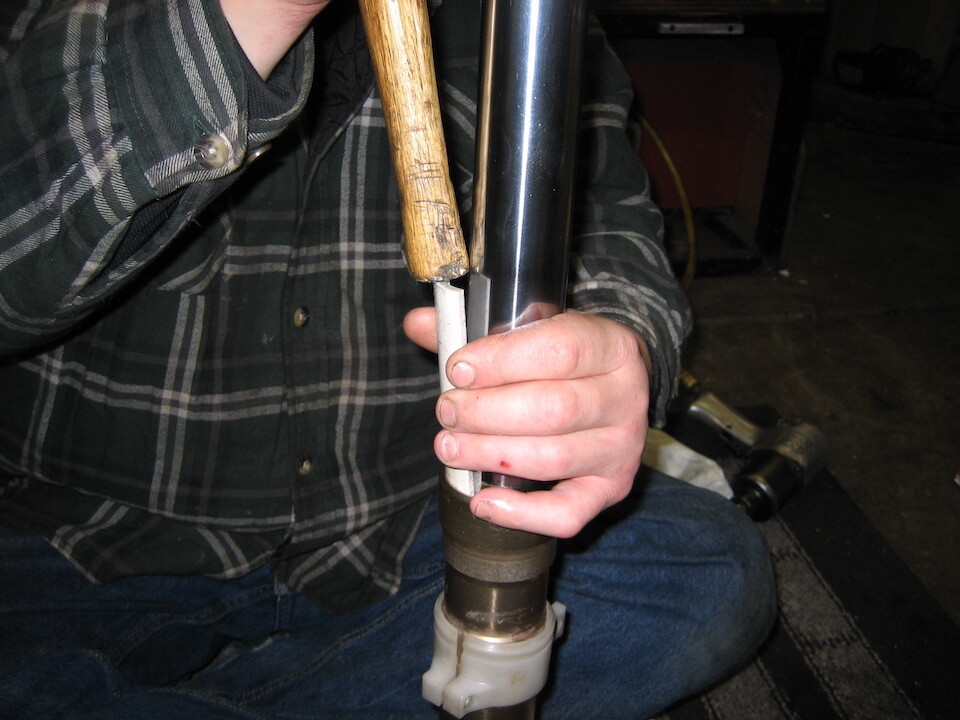 Setting the new seals in.
Now the engine rebuild:
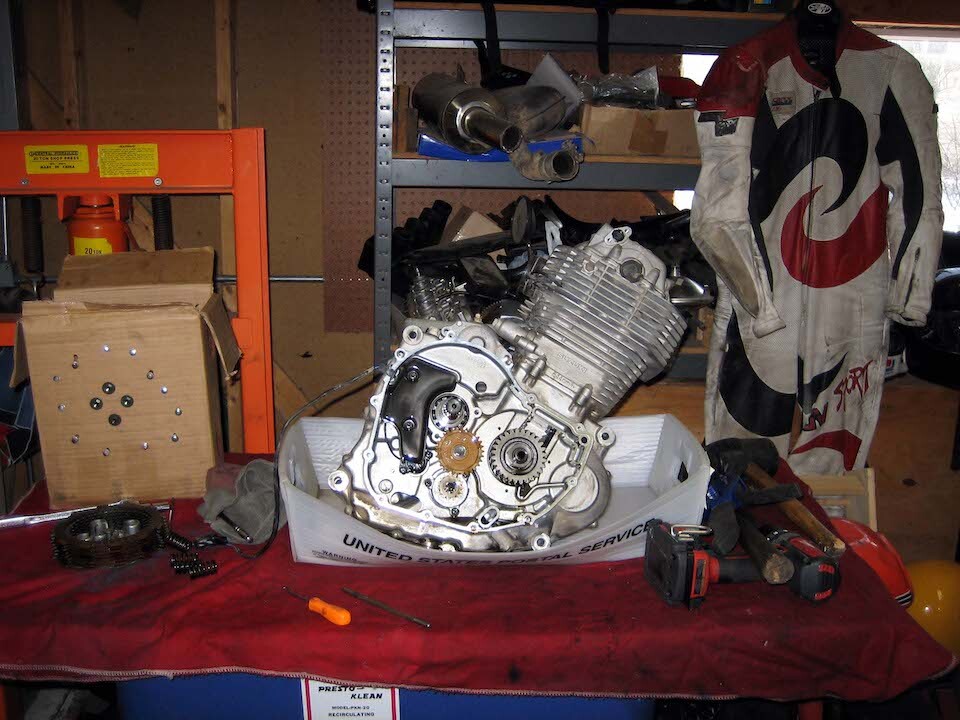 The engine on its bench, where it would be for the next 2 months as the rebuild went on for longer than expected as we waited for the right parts to be shipped.
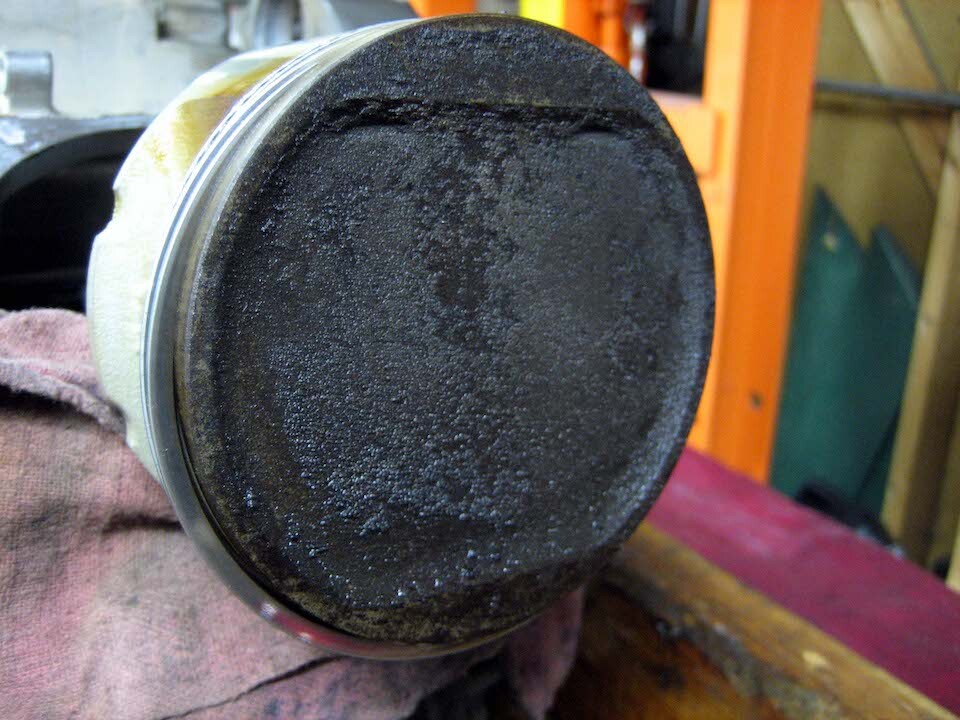 The old piston at 26K miles. Not bad. Replaced it with a new forged aluminum Wossner piston (stock compression).
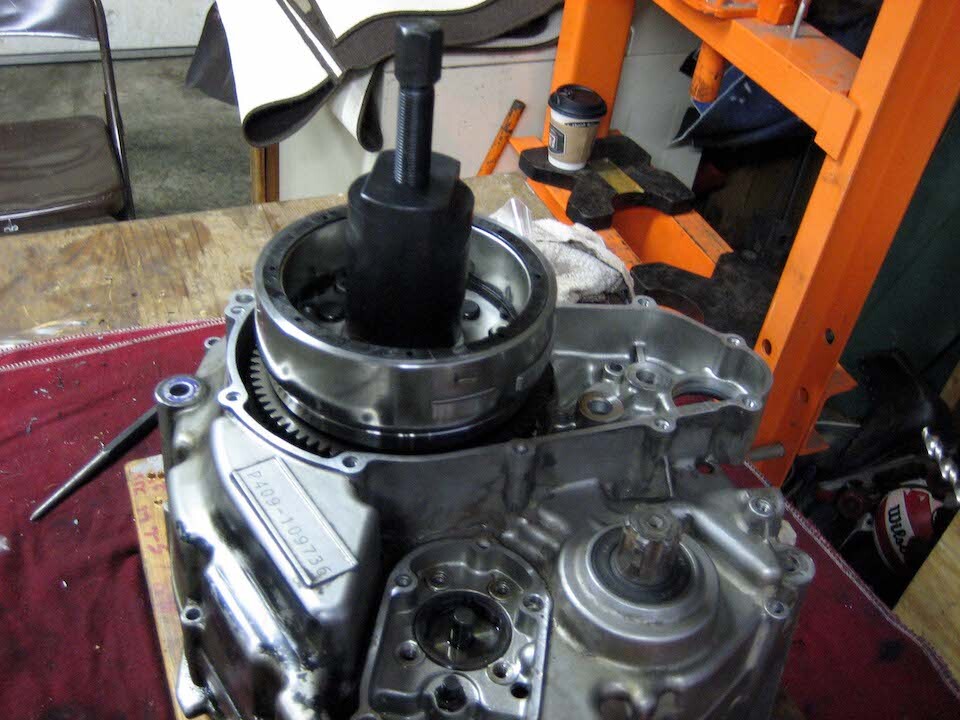 The rebuild required a few special tools, such as this generator rotor remover (50 mm threaded pipe). Had to wait a few weeks for the right part to arrive.
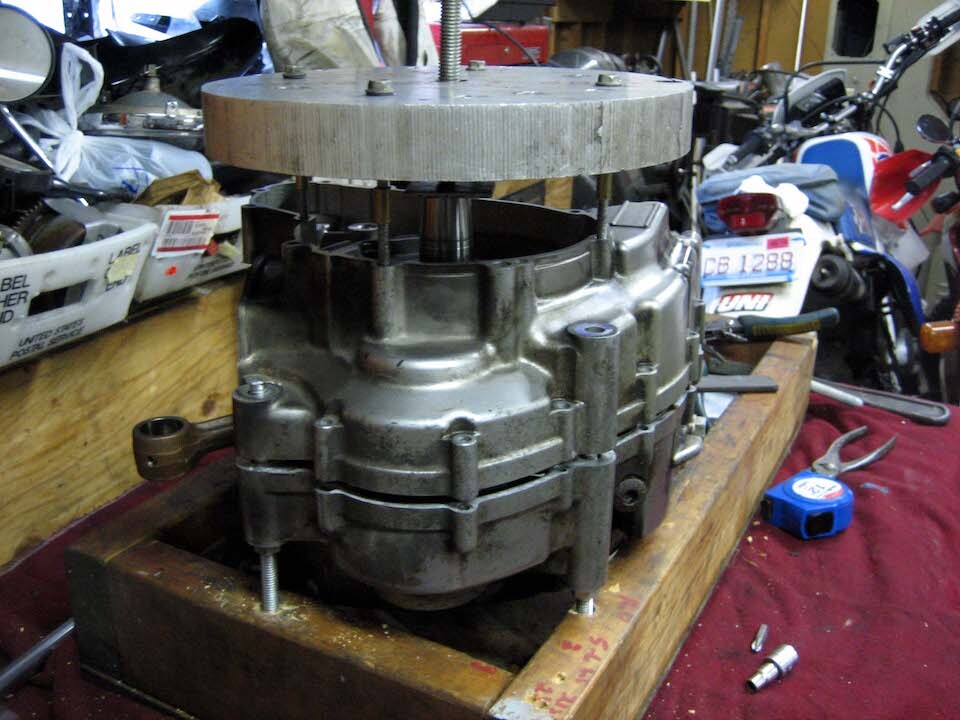 Splitting the engine cases required a plate that a threaded rod when turned would lift the outer case up.
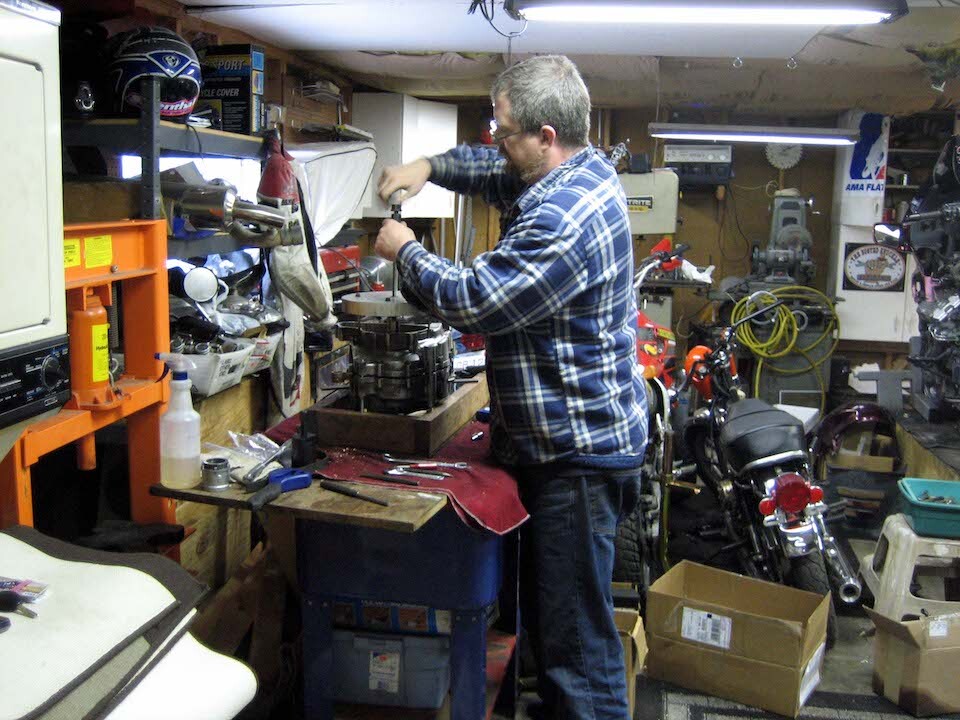 When everything was set just right, it was magical to see the cases come apart with so little effort - hand turning the rod to split the cases.
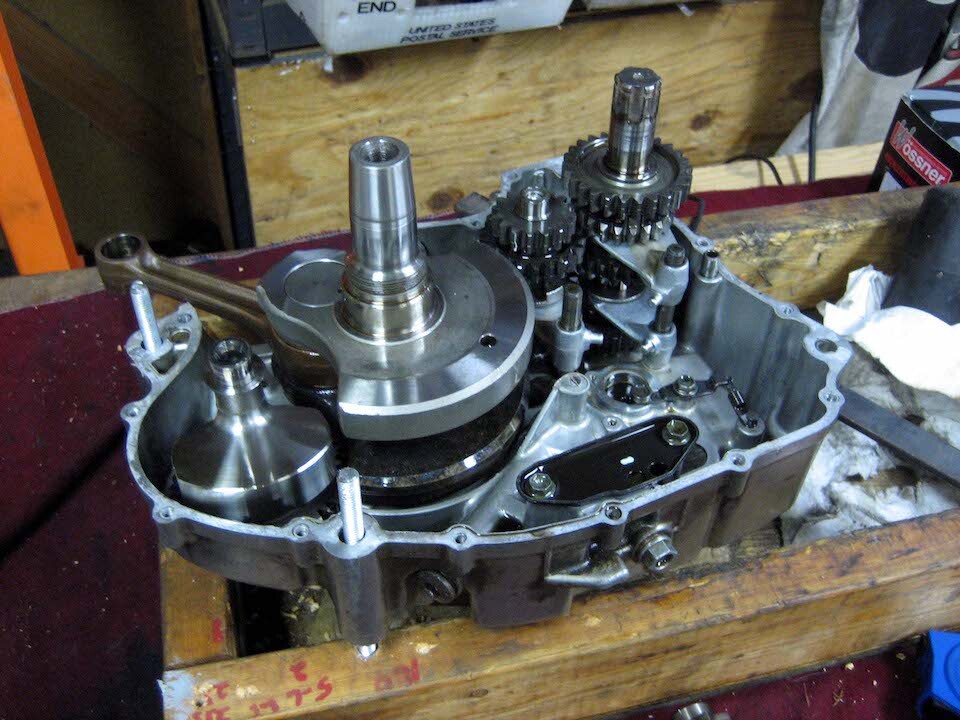 Voila, the insides of a DR650 engine. Simplicity shows through again. It's a single cylinder, so a sole piston spins the crankshaft around and the transmission is built into the engine case (like in most motorcycles).
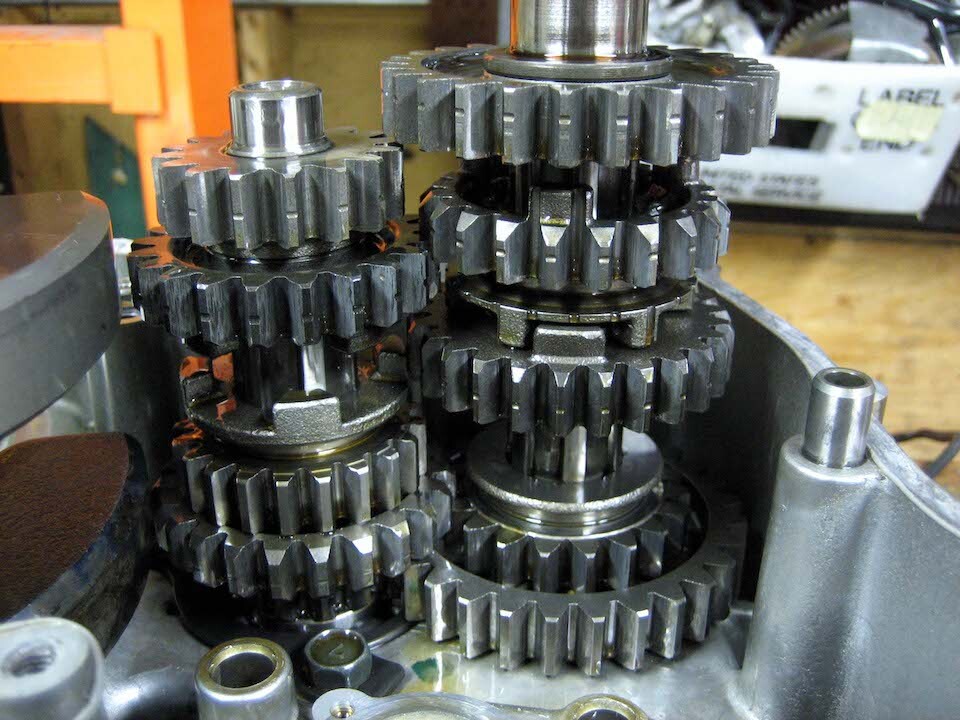 The transmission gears. The part to be replaced is in the middle of the left stack. It looked fine and there was no unexpected signs of wear on any other parts. Even the cylinder walls with their Nikasil coating looked perfect. I was pleased that everything in the engine was running as expected and looked normal.
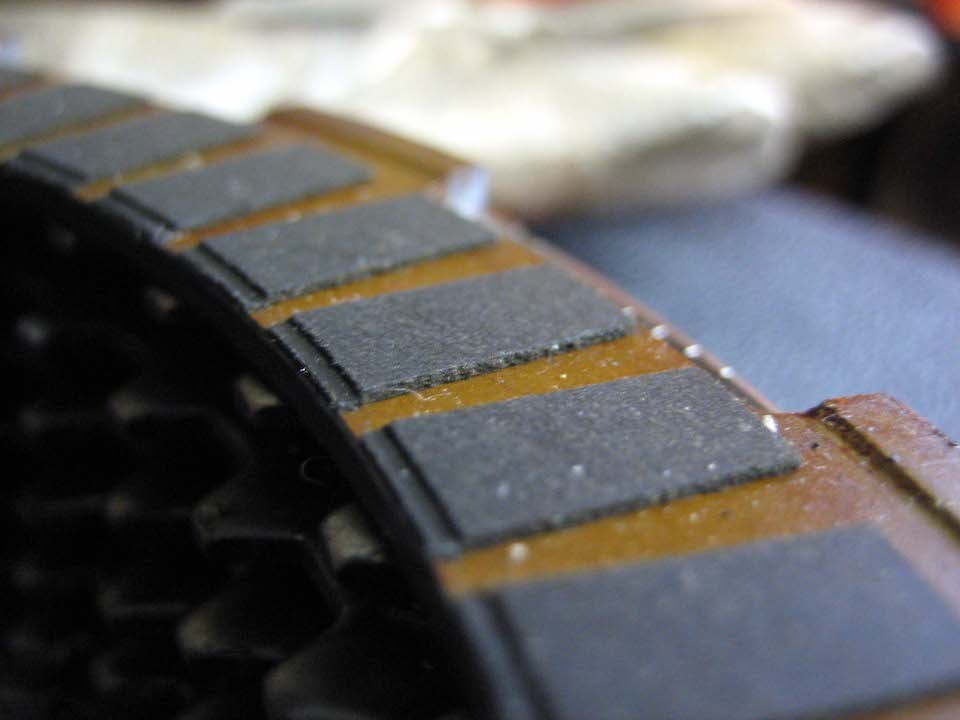 The clutch also looked like it had very minimal wear, so I didn't replace it and will do so as needed down the road, probably in Argentina.
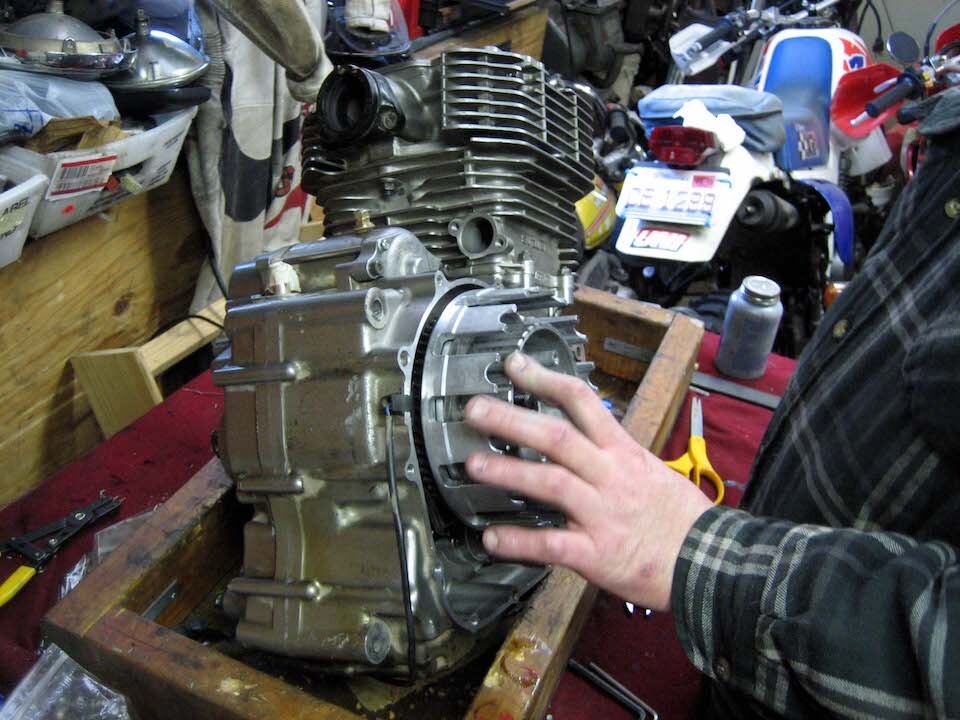 Putting the engine back together. Spinning the clutch basket on.
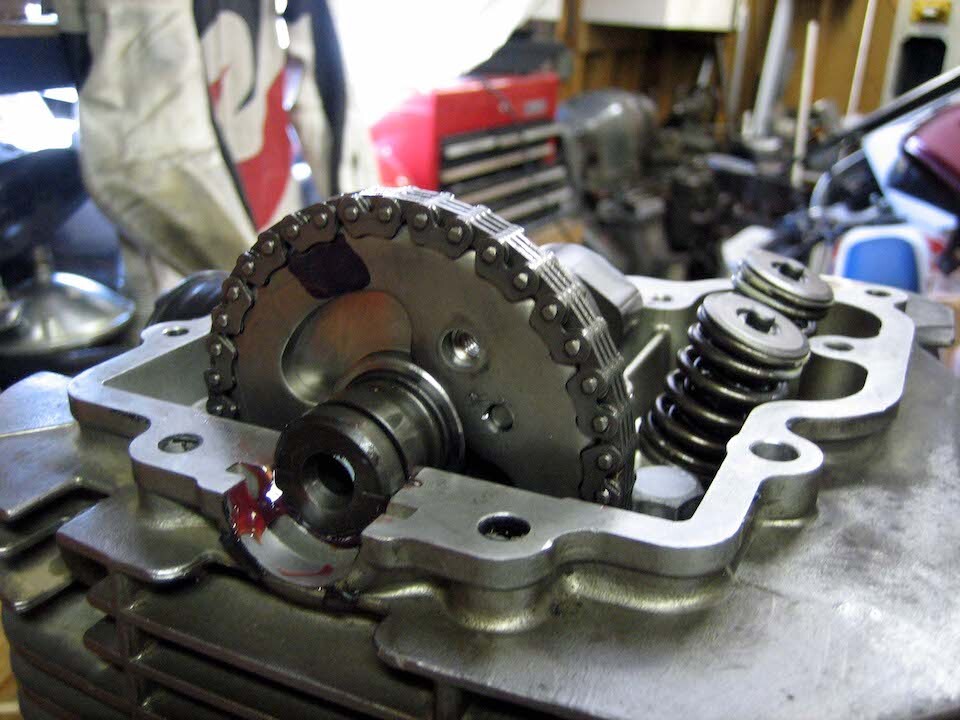 Re-assembling the cylinder head. Cam chain in place.
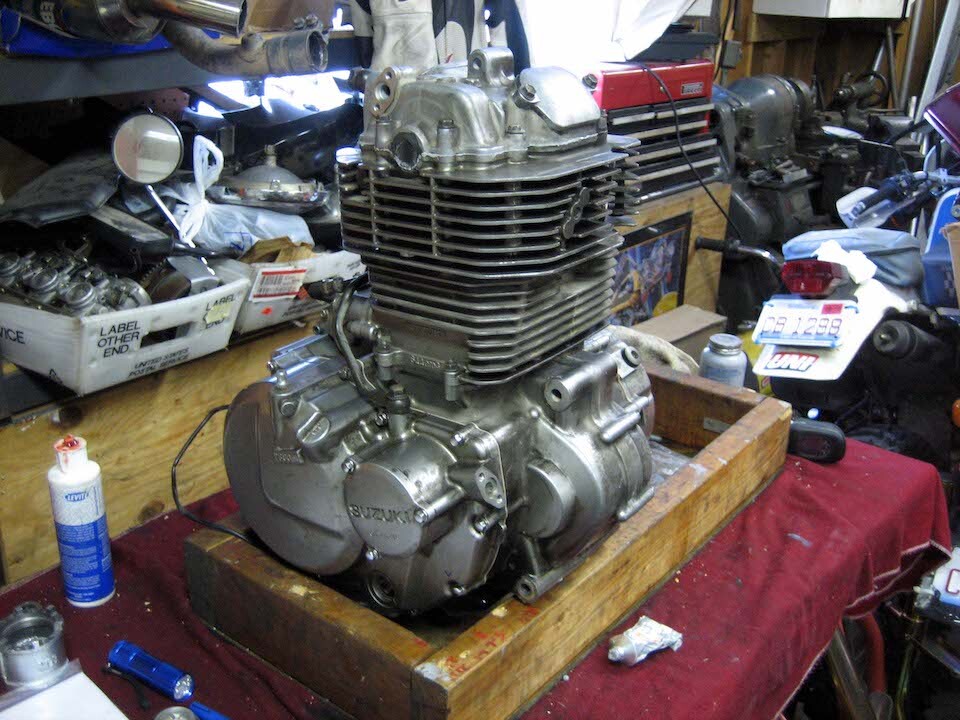 That right there is one mighty fine rebuilt DR650 engine. If something happens along the way, I'm not too worried about going in and working on it, but let's hope it doesn't come to that.
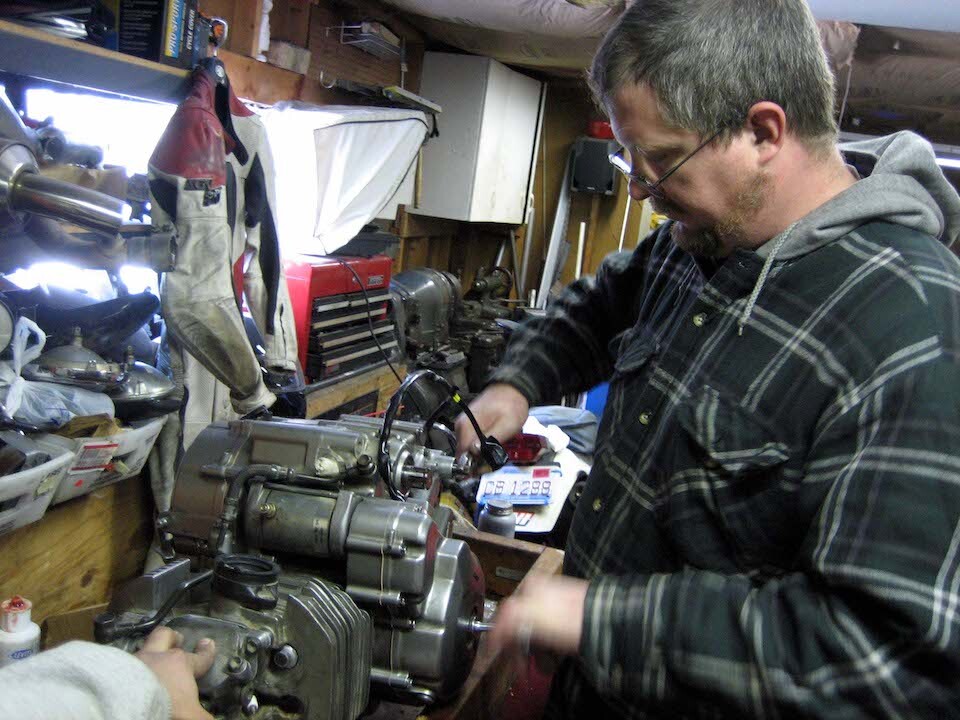 Shifting through the gears to make sure everything works as intended.
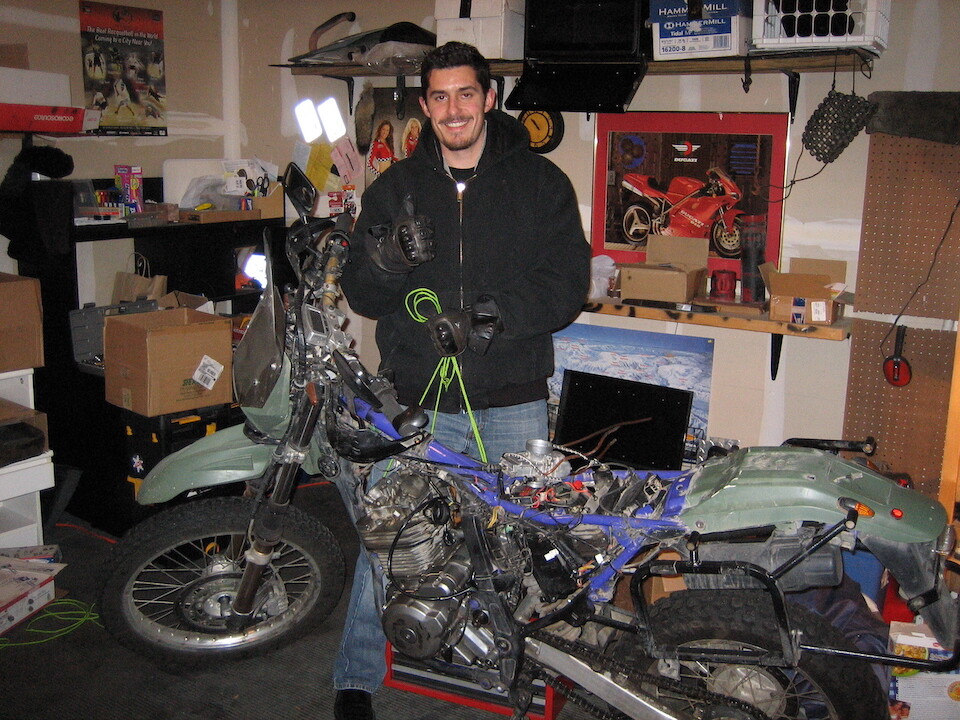 Getting the engine back in the frame with the help of my friend, Cesar who acted like an engine hoist while I positioned the engine to get the mounting bolts through.
Servicing the big items on the bike was done. New tires were planned to be mounted in San Francisco and the chain still had lots of life, so that would get replaced along the way.
Next: Trip Preparation: Bike Setup
Previous: FAQ